Inhaltsverzeichnis
Embroidering a shirt collar / Hemdkragen besticken
We only have a medium size frame to hold fabric to be embroidered in our embroidery machine. This frame is too big to properly hold and support something as small as a shirt collar.
Of course there's also very small frames made just for this but they come at a price: you cannot place your motive close to the edge of the collar because the edge has to be clamped into the frame.
ttb developed the technique explained on this page to work around these issues. He's fixing the collar inside the medium sized frame to a support fabric using a special water soluble glue. The glue will wash out easily and can be obtained from your local sewing supply store.
Required Material
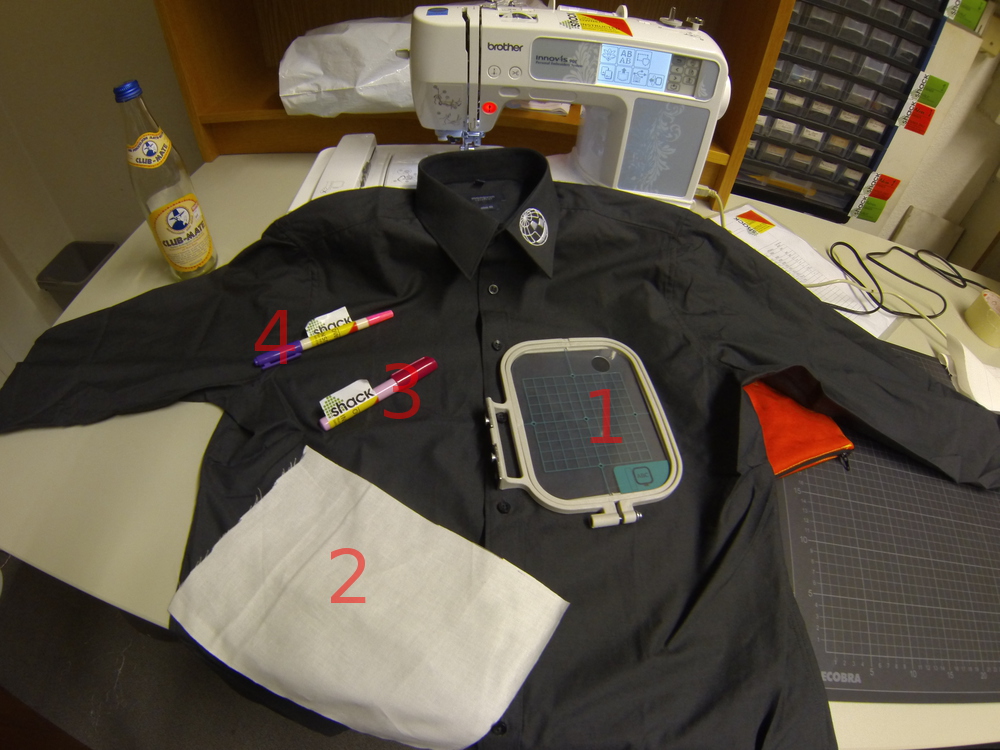
- Frame
- Support fabric
- Fabric glue (water soluble)
- Fabric pen
Preparing the Support Fabric
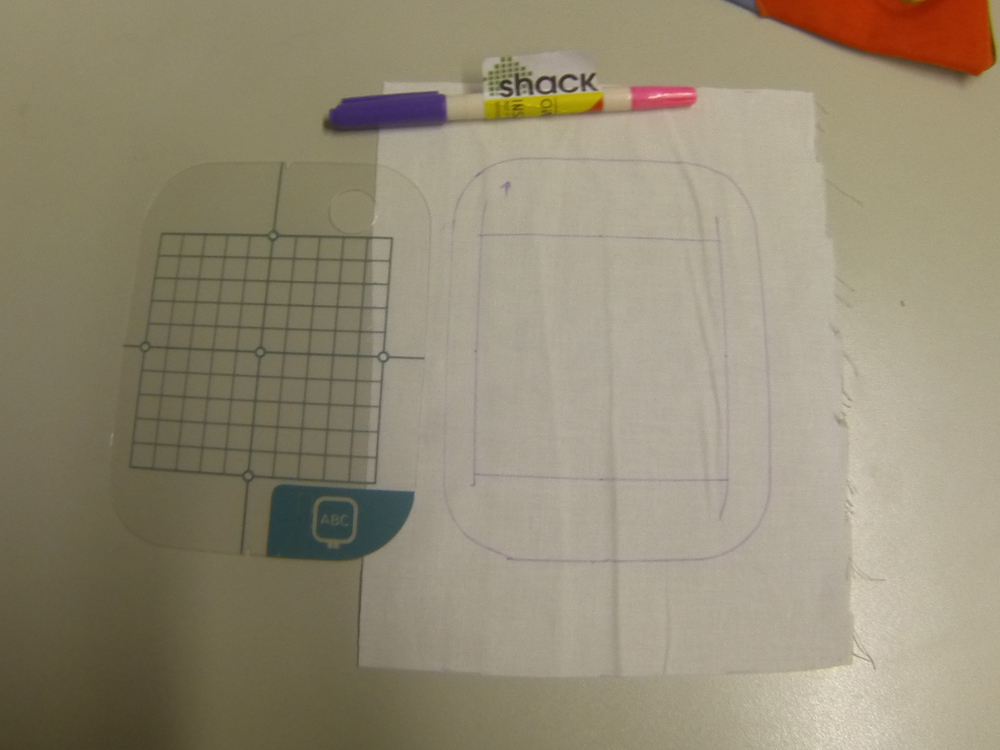
Cut a piece of fabric to size (25x19cm has been shown to be suitable for a 10x10cm frame)
To aid positioning you can use the template that comes with the frame to mark the position of the frame on your support fabric.
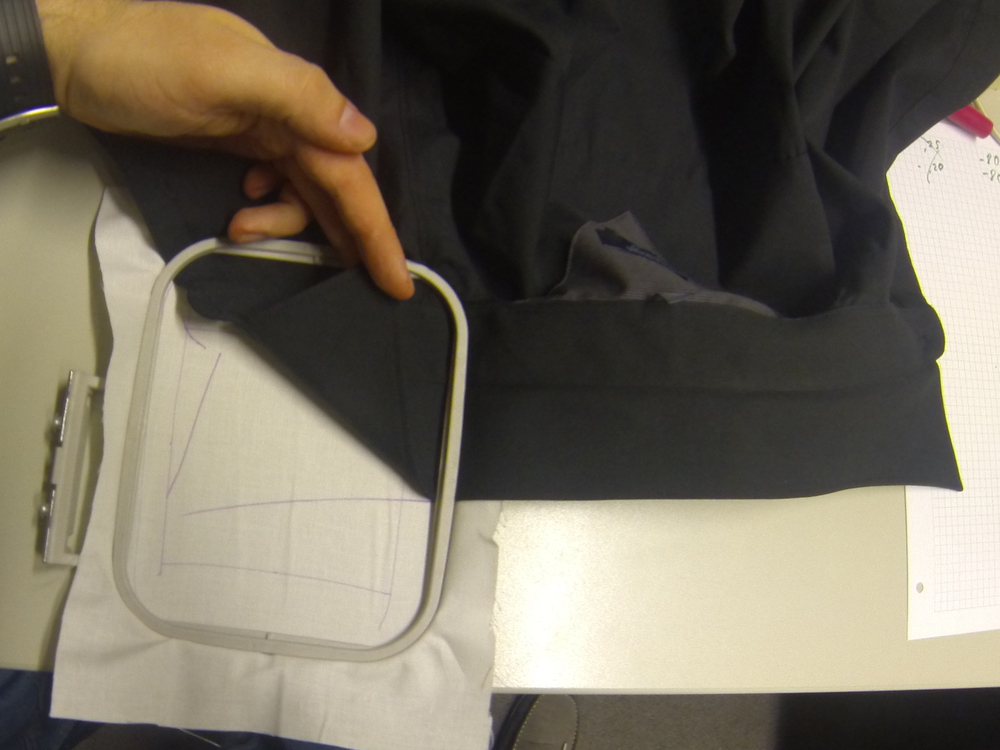
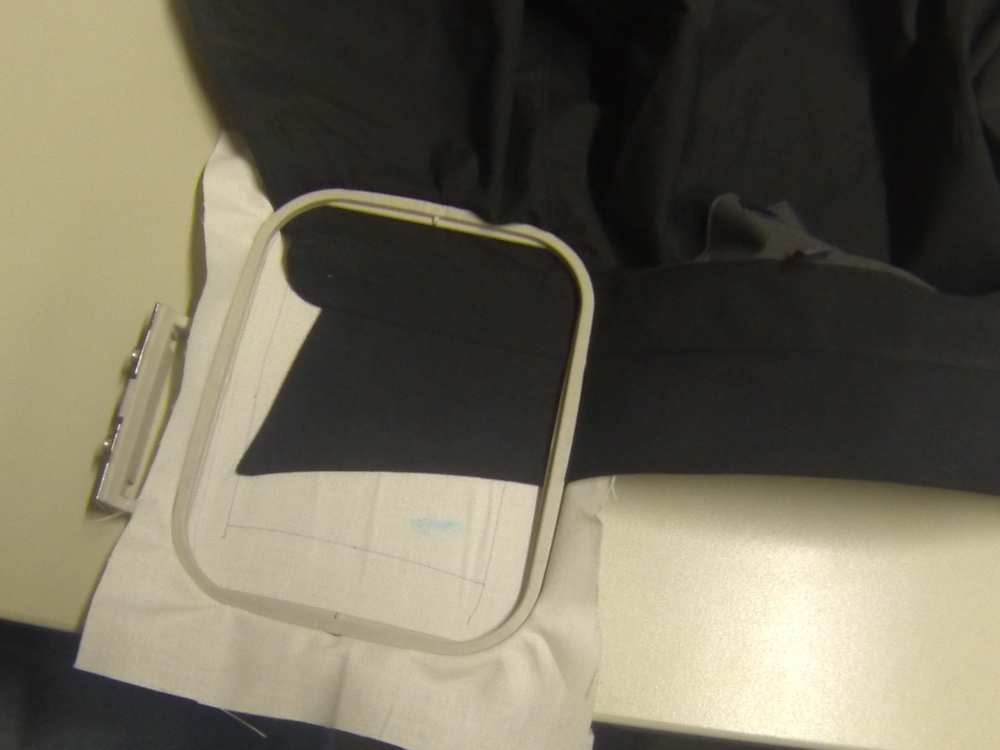
Inserting Fabric and Shirt Collar into Frame

Insert support fabric and shirt collar into the frame together. Doing it this way around is a lot simpler than inserting first the support fabric, marking the position of the collar and adding the collar later on.
The support fabric must be inserted into the tray together with the shirt collar just it would be for regular embroidery work.
Verifying Positioning

Use the template to verify that the collar is within the embroidery area.
Marking the Collar Position
Use a fabric marker to outline the collar's position on the support fabric.
Applying Glue

Apply fabric glue to the area lined out in the previous step. Pay special attention to the collar's edges and its tip.
Fixing the Collar
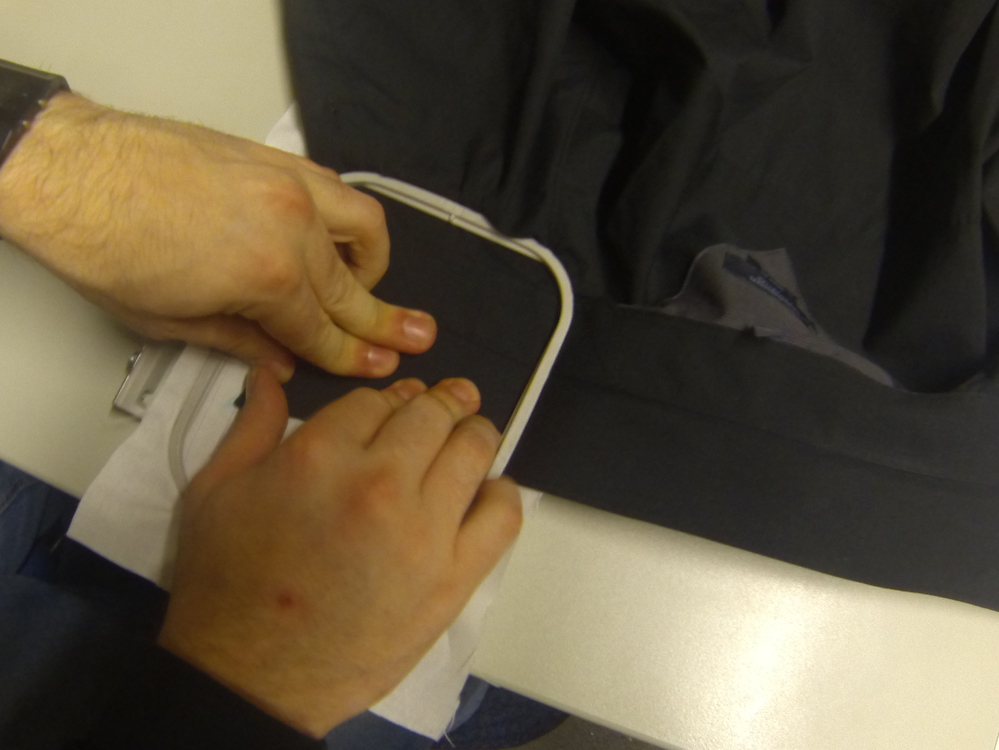
Apply generous amounts of pressure to fix the collar to the support fabric. Pay special attention to the edges and tip.
Curing
Let everything rest for approximately 5 to 10 minutes to let the glue cure and harden.
Embroidering the Collar

Now the collar can be embroidered. Make sure your motive isn't overlapping with the edges of the collar, otherwise the foot of the embroidery machine will get tangled with the shirt collar which could damage the machine.
After embroidering you can carefully peel off the support fabric.
The support fabric can now be cut to size around the embroidered area.
Video Documentation
Here's a quick video tutorial (in German) of shackspace member ttb explaining the process he's developed: