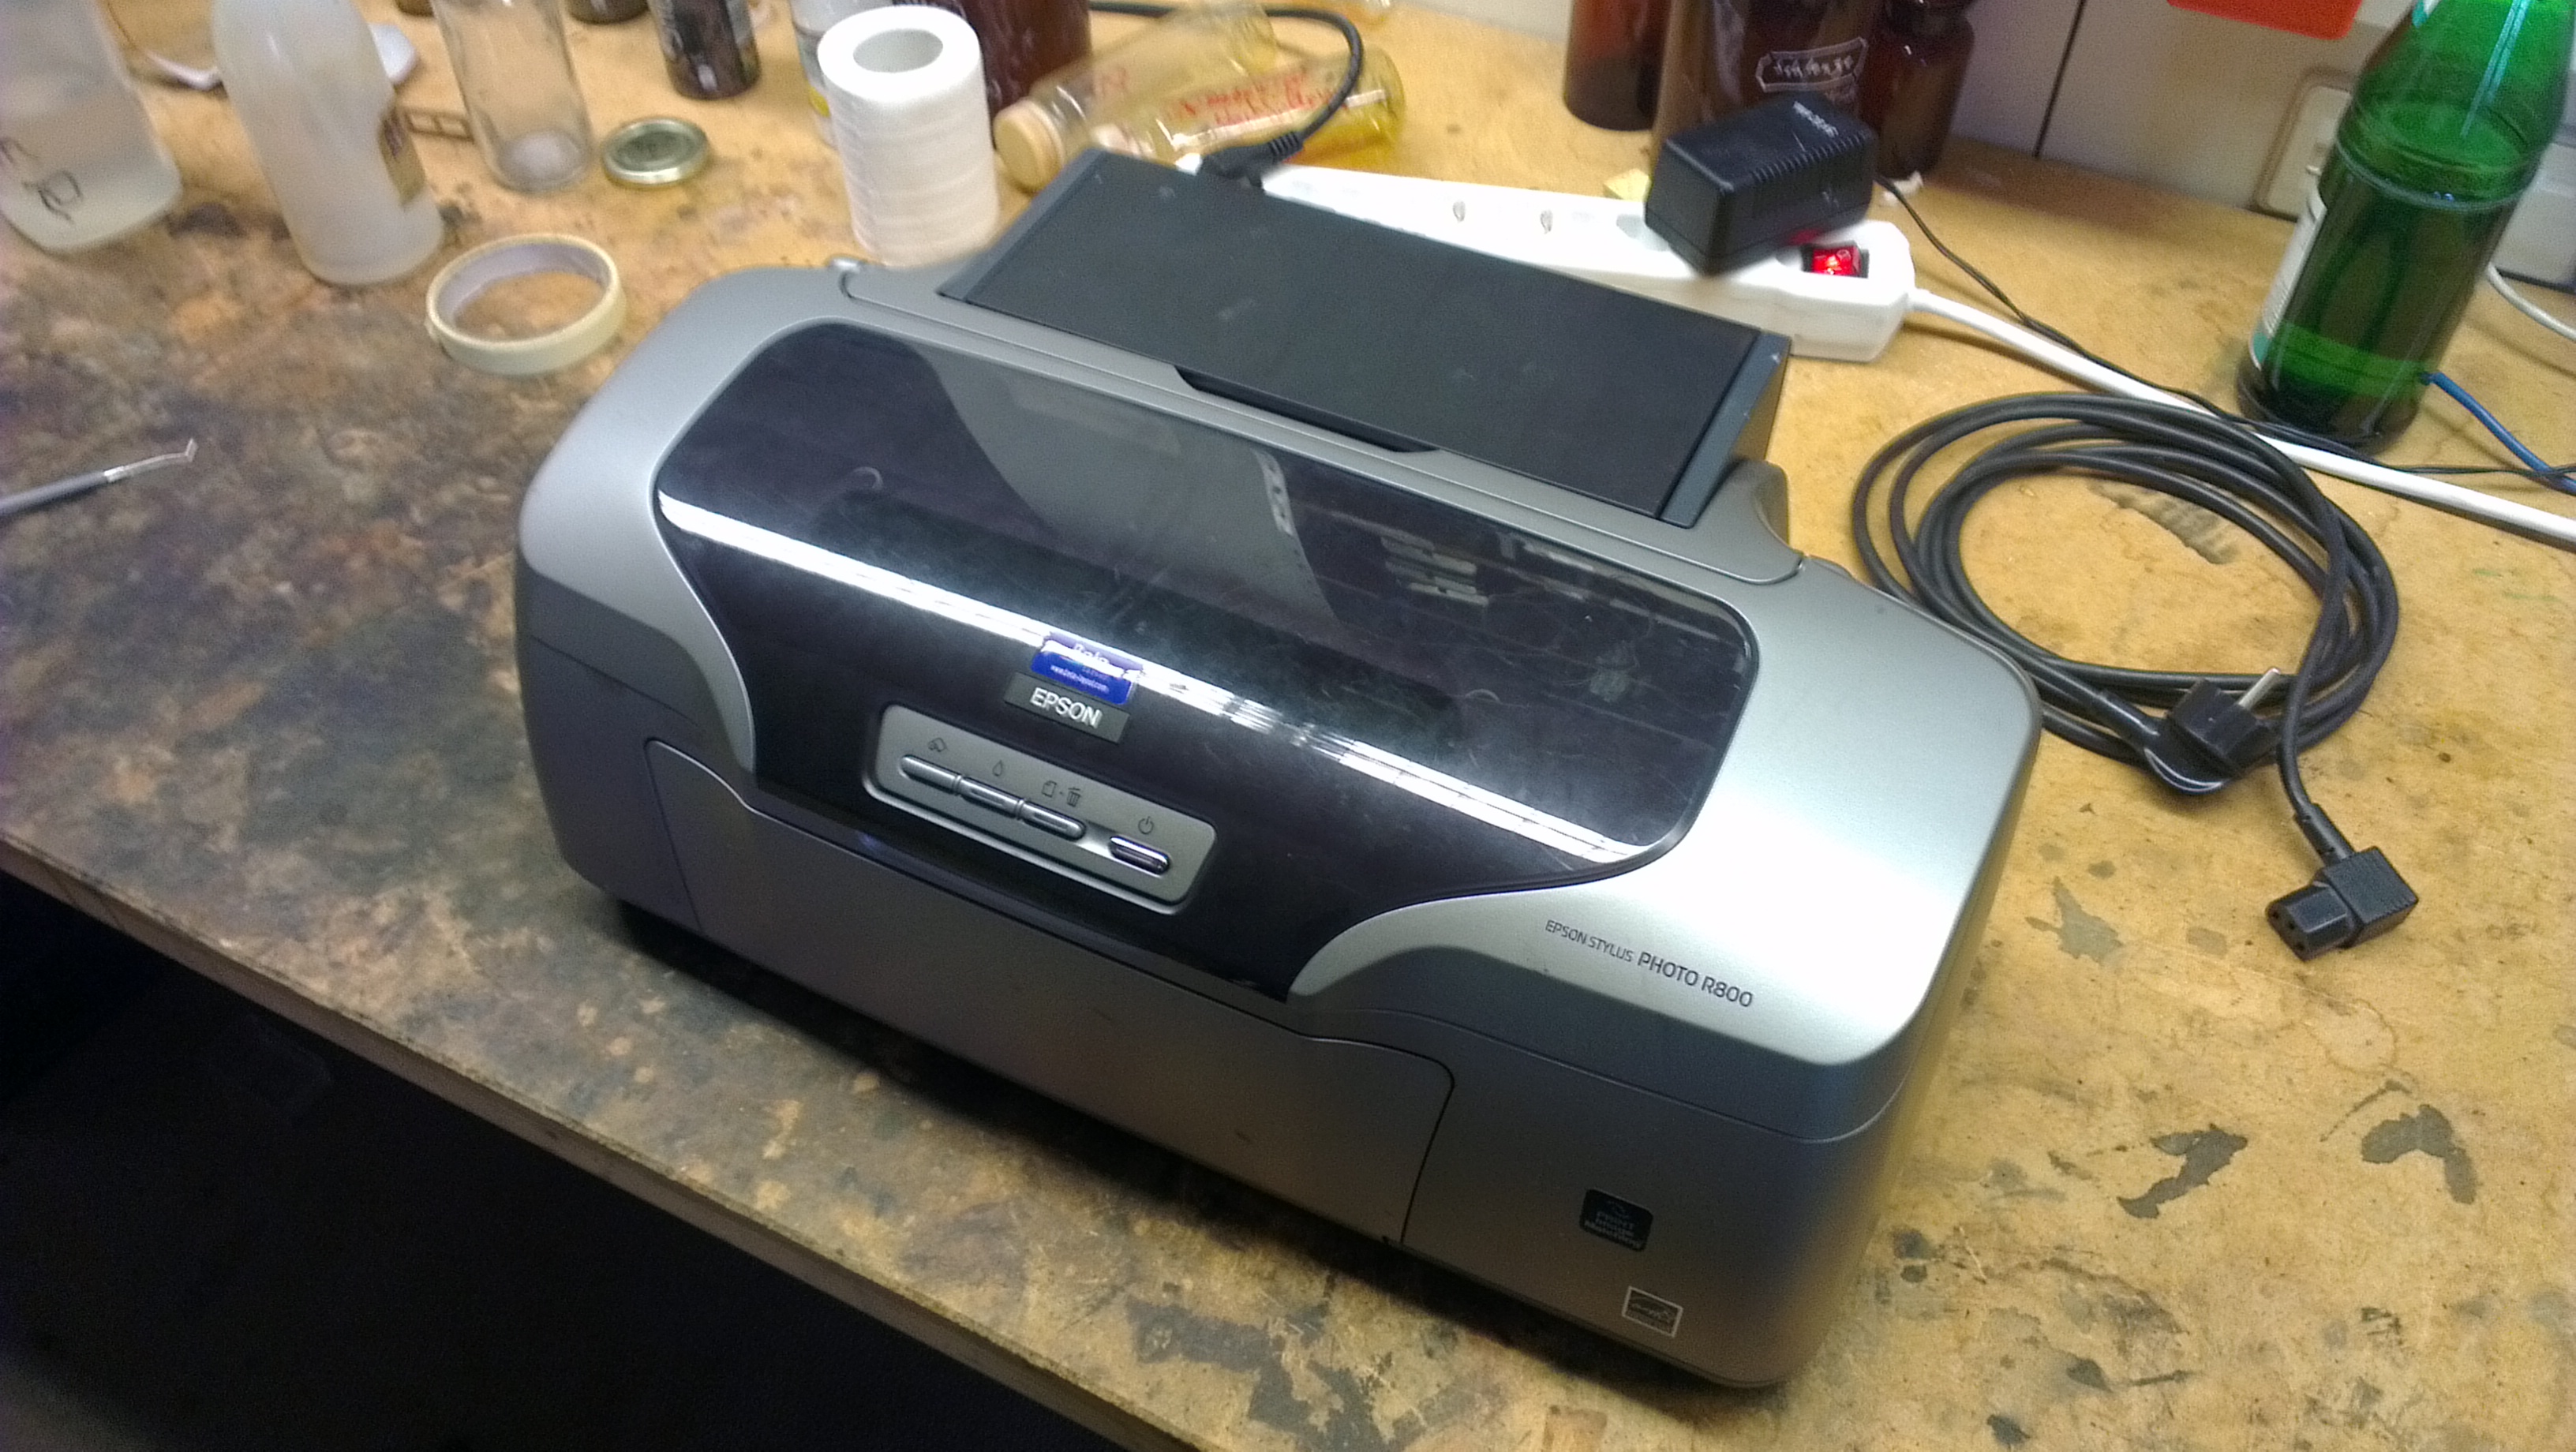
pcb-printer: Dismantling & Cleaning the Printer
This is a short guide on how to open the case of the Epson Photo R800. Finding the required screws without unscrewing more than neccessary can be tricky.
First of all make sure that the Printer is unplugged and free of high voltage. You do not necessarily have to remove the cartridges in order to just open the case. If you want to be able to freely move the printhead, you should use the cartridge changing button to move the printhead away from its parking position, where it would be locked in position in order to keep the nozzles on the cleaning sponge.
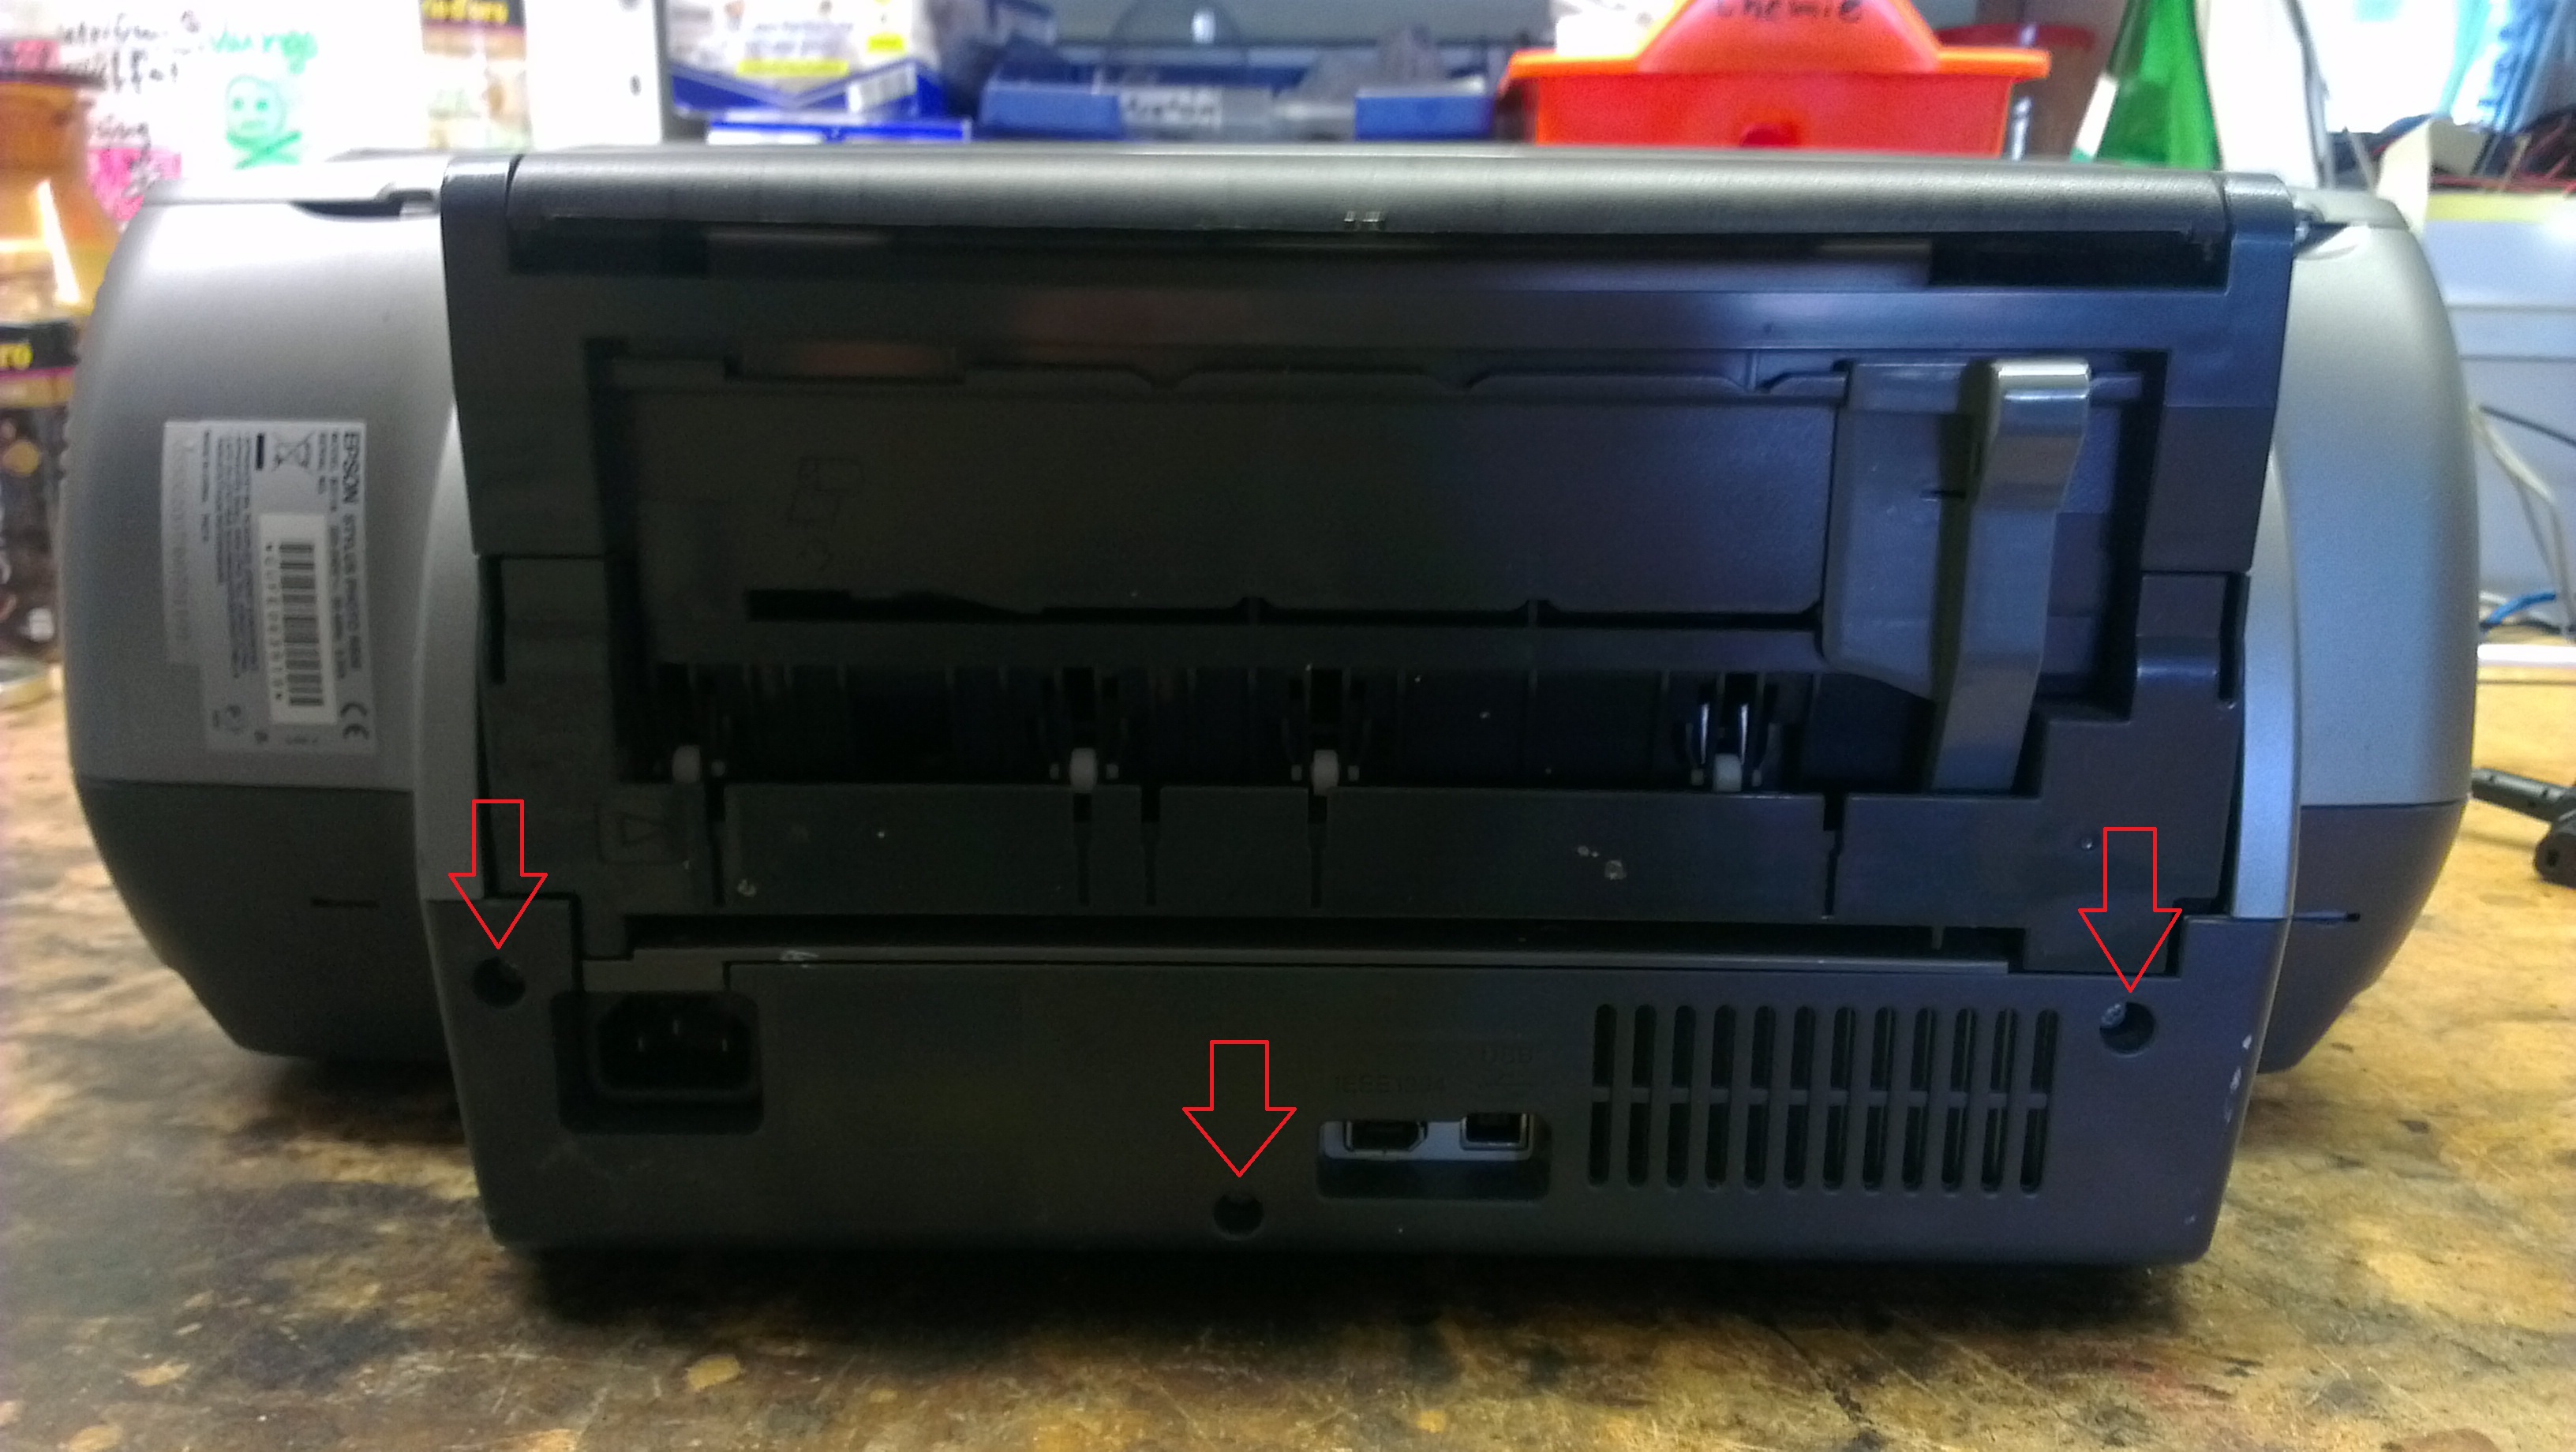
Then you should turn around the printer and remove the three screws on the rear panel - the one with the power and usb connector. The screws are shown in the following picure:
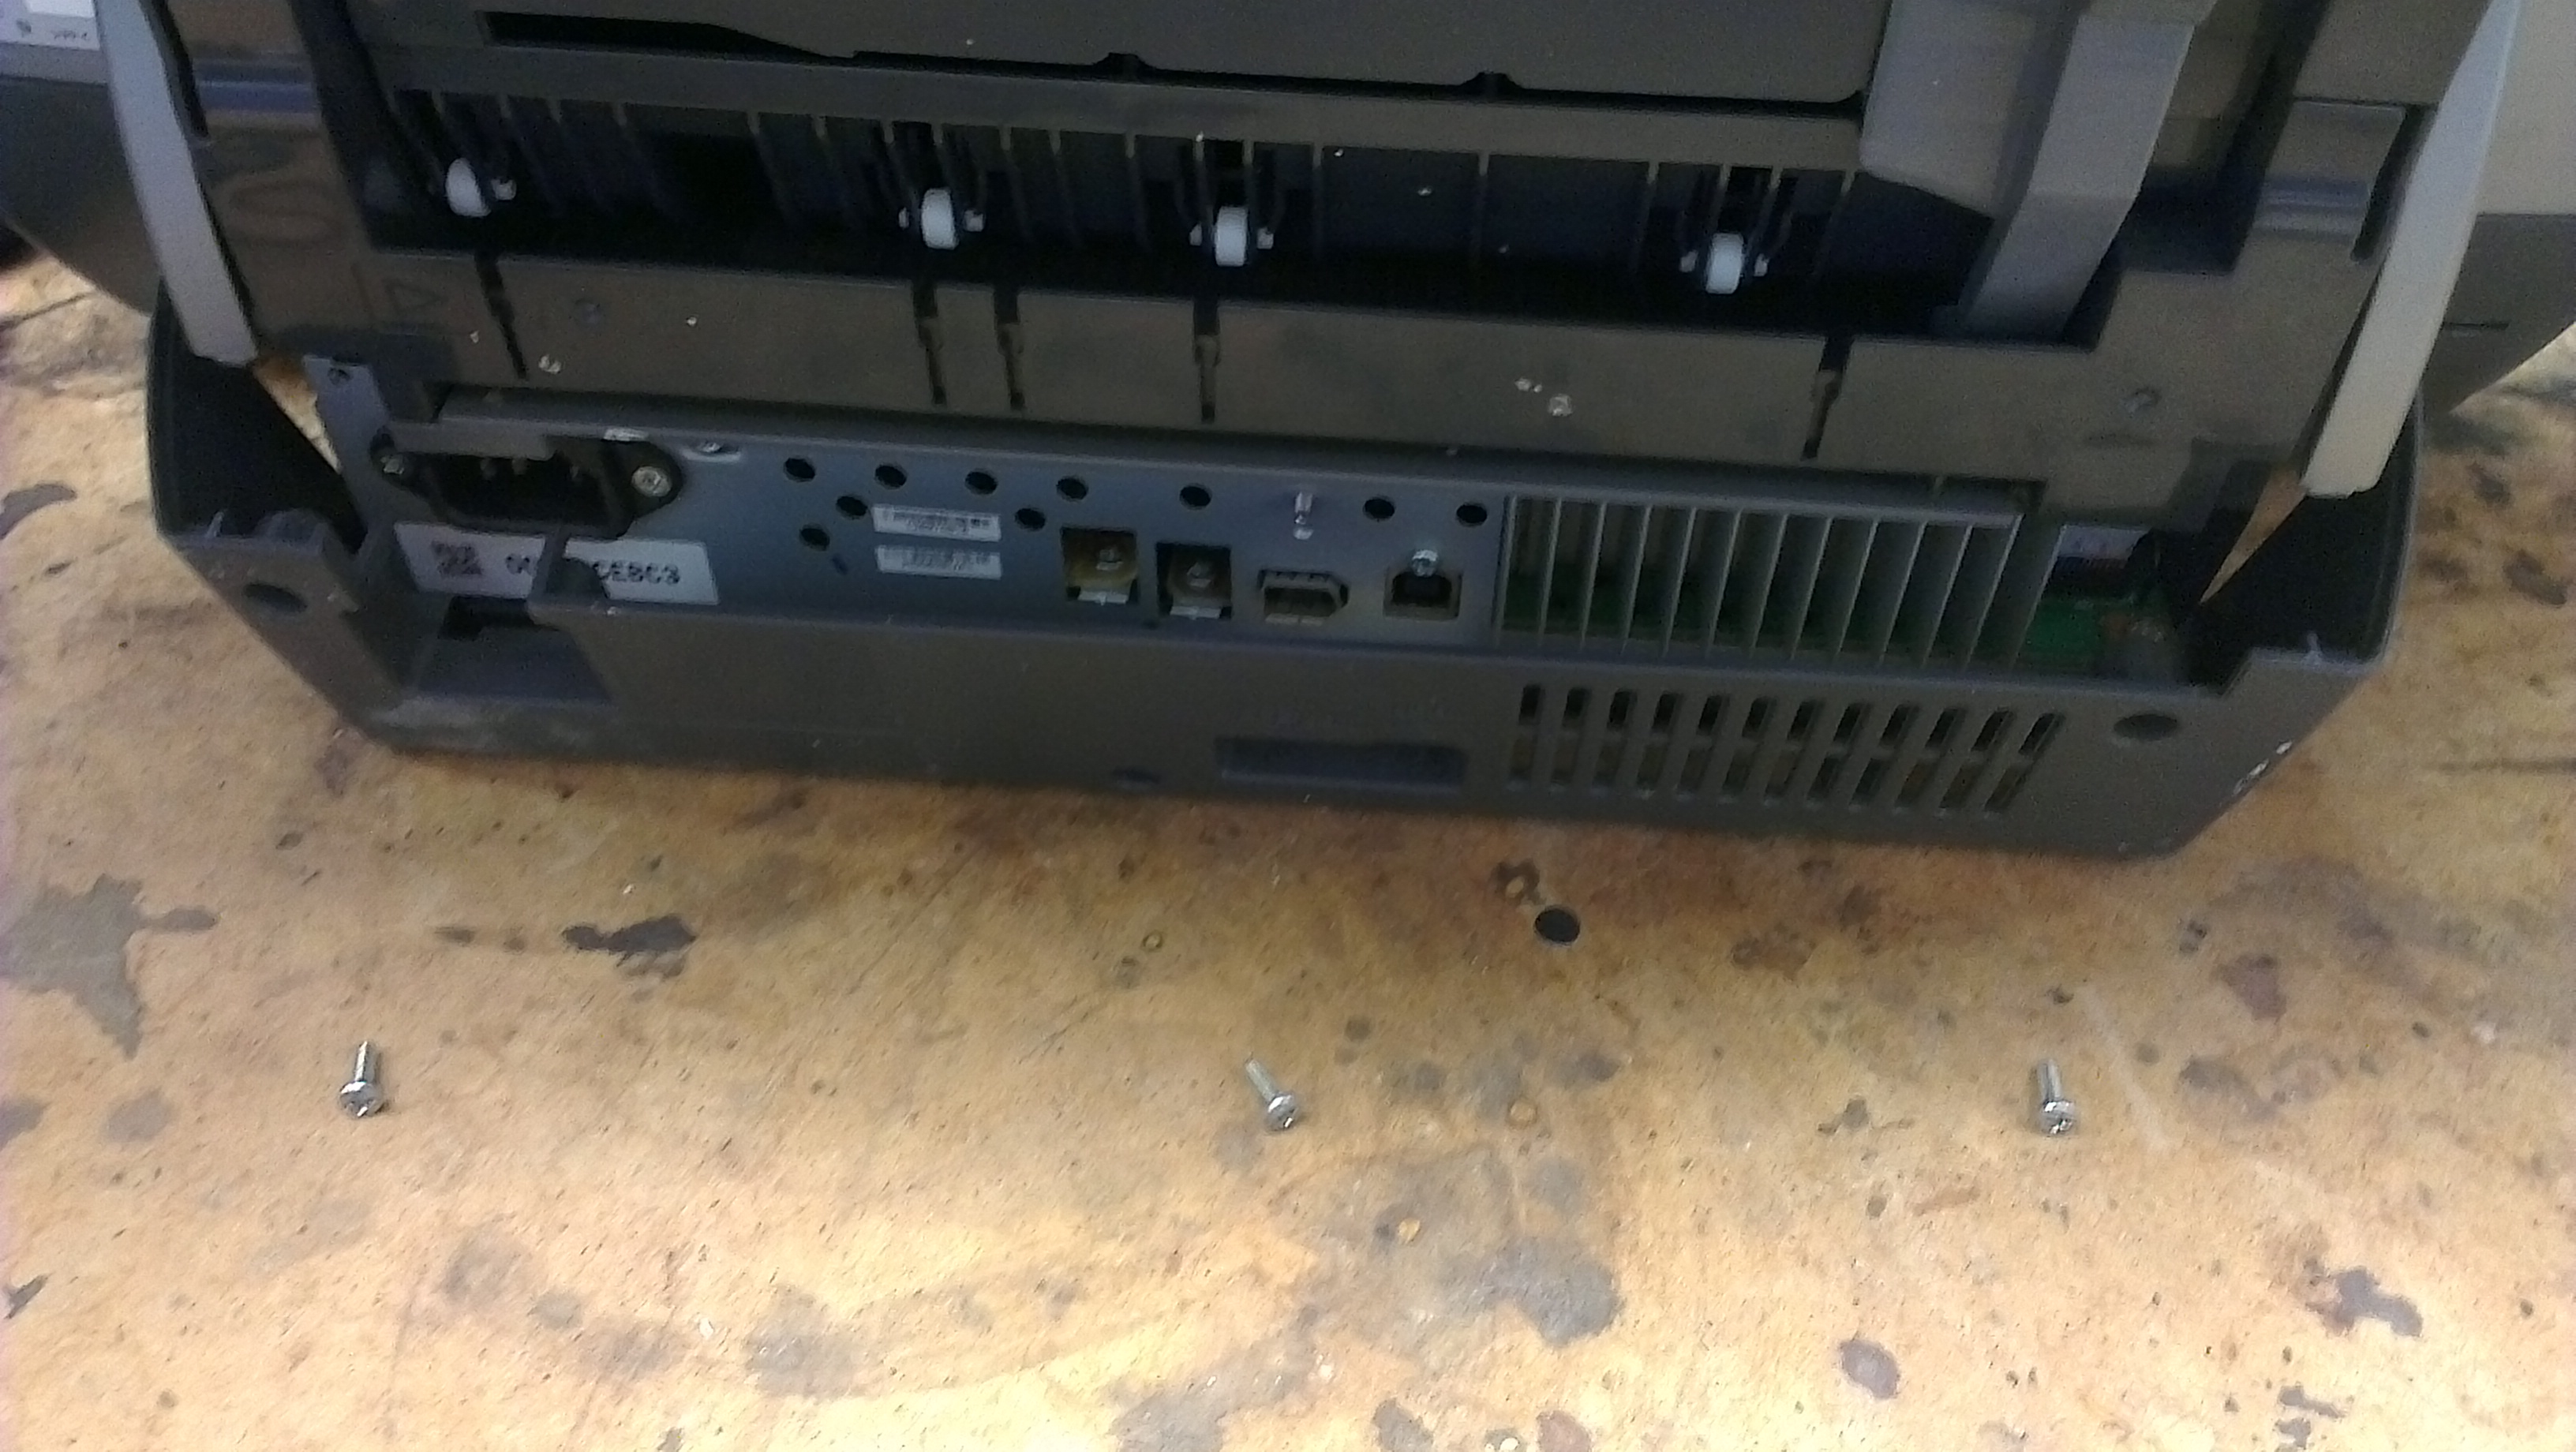
Then carefully remove the panel you just unscrewed and put it away together with the three screws. All three screws are the same so you don't have to worry about mixing them up.
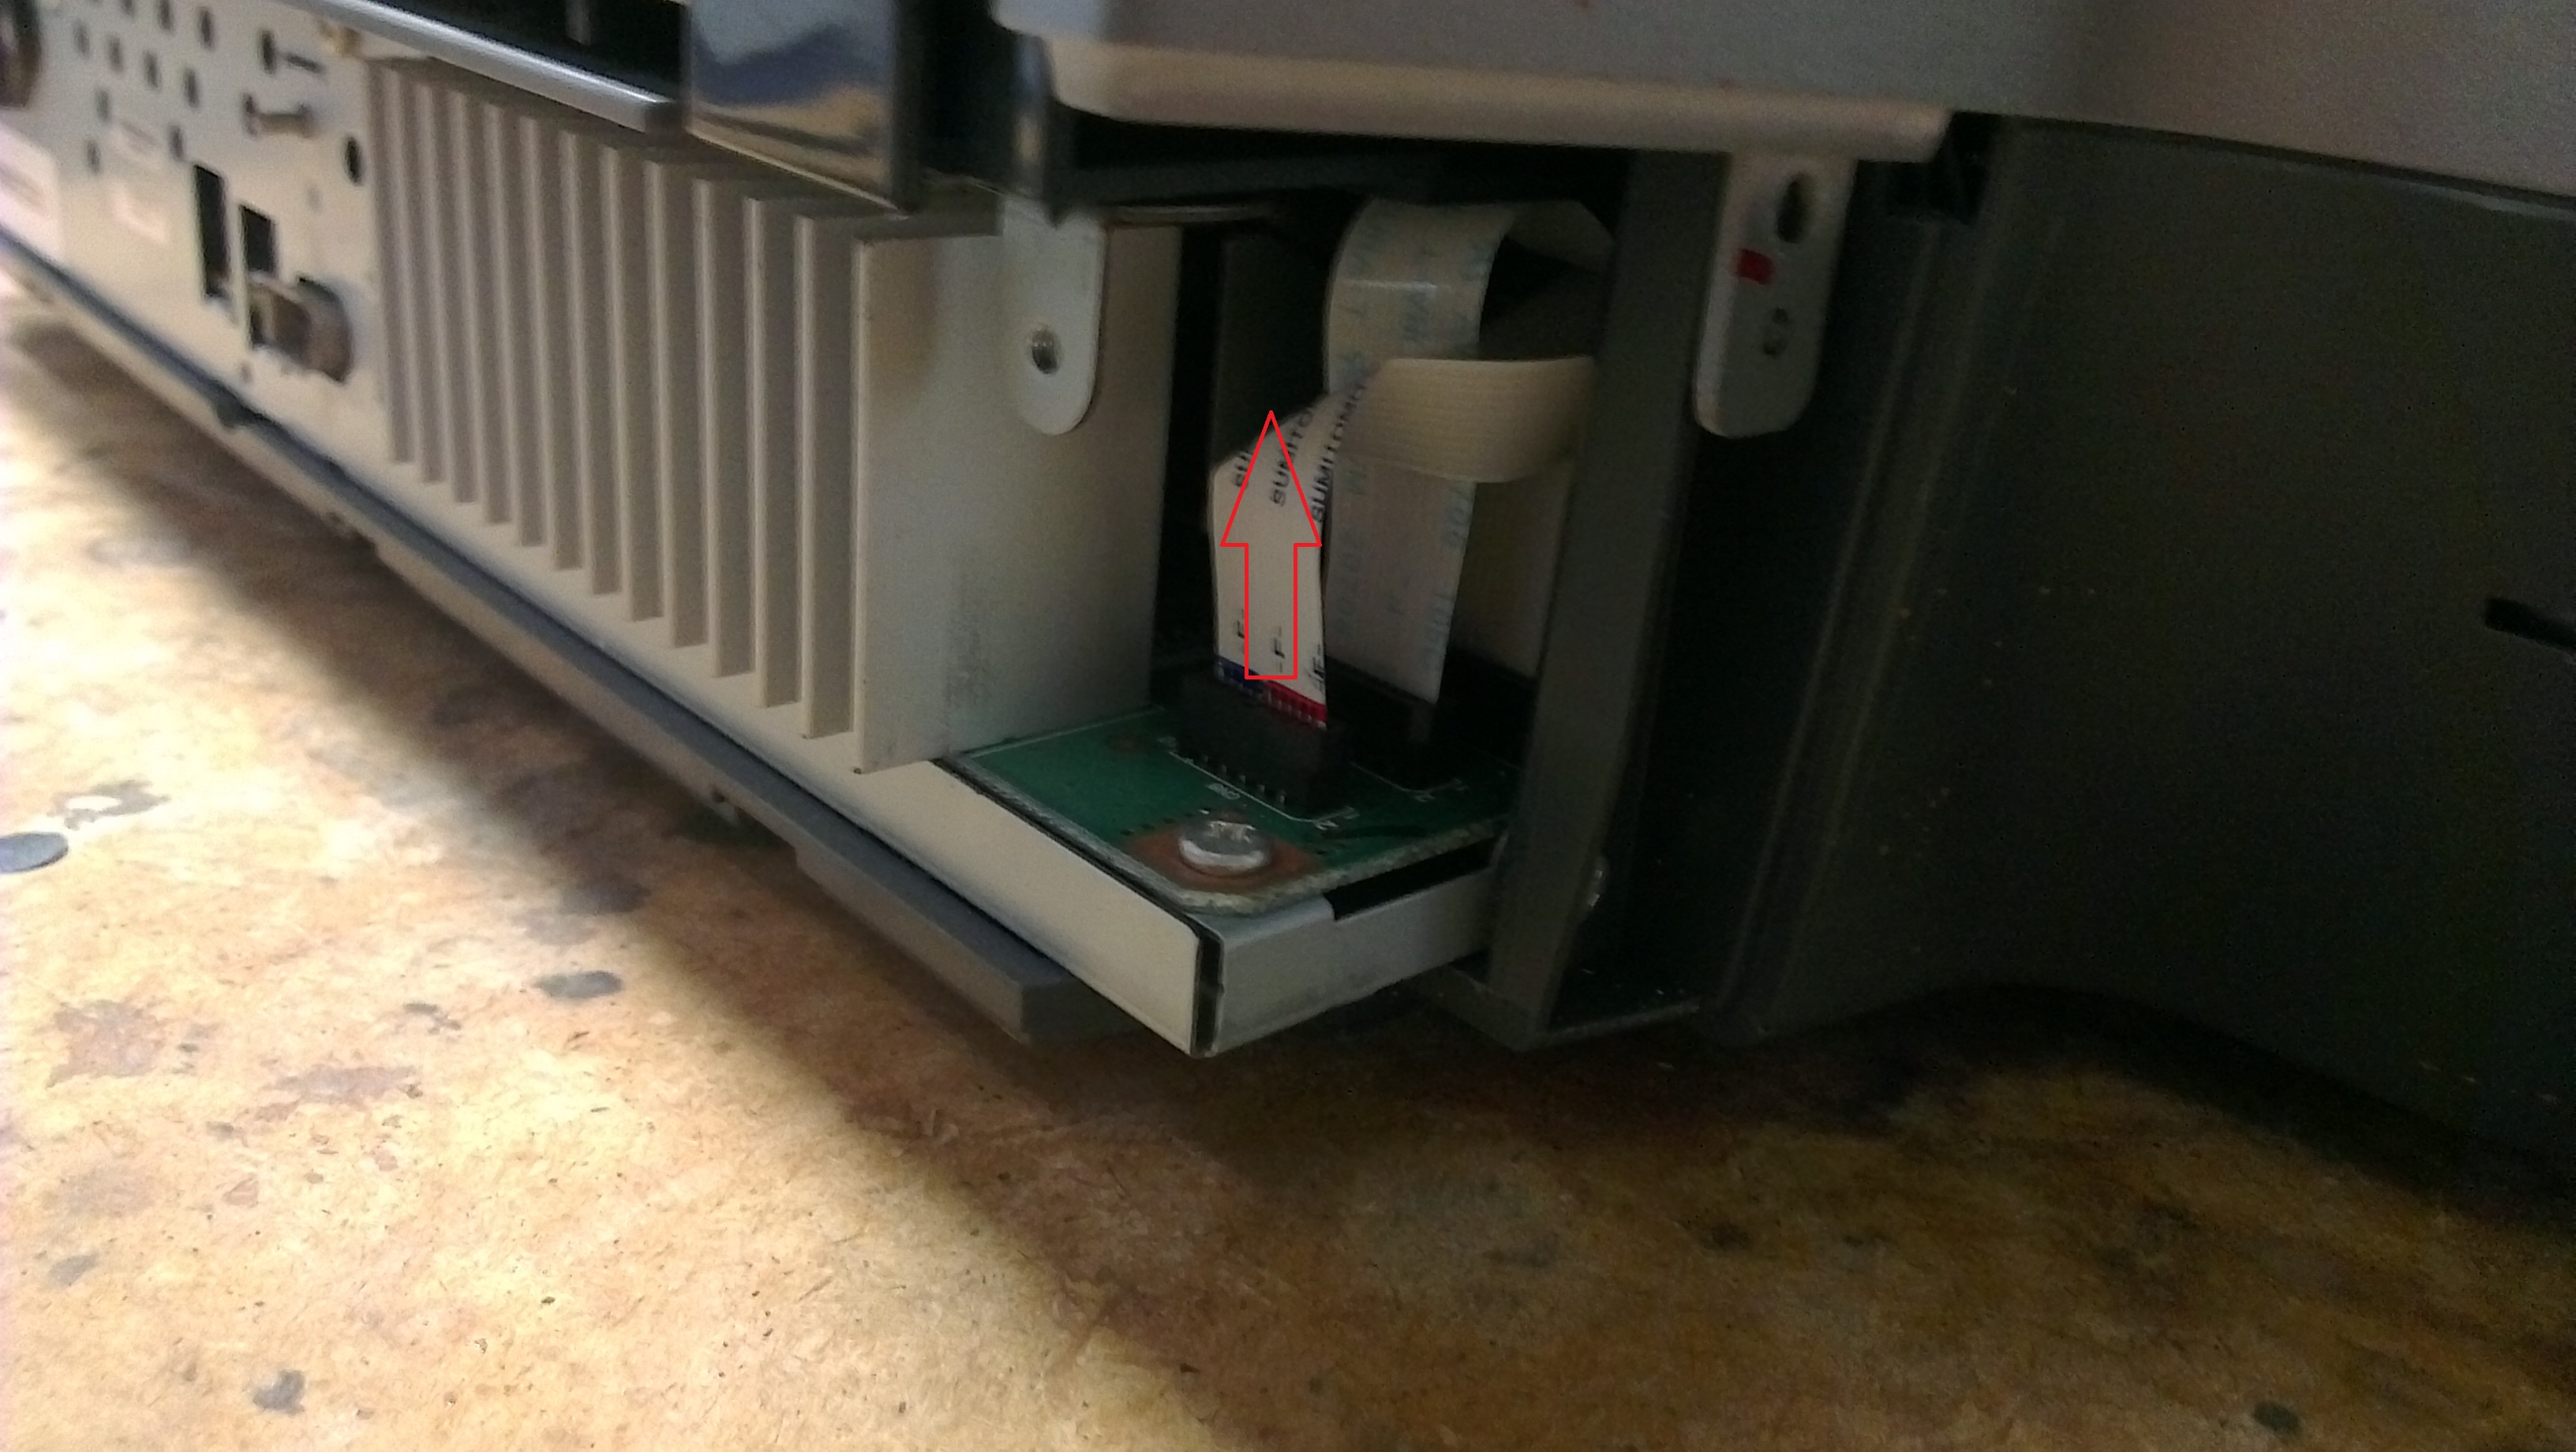
Next you should unplug the cable for the front panel - the one with the buttons - because we are going to remove that together with the rest of the top case. This is the fastest and easiest way to gain access to the interior of the printer. You are looking for the first in a series of many ribbon cables plugged into the board you just recently gained access to by removing the back panel. The cable has red and blue marks on it, as you can see on the picture. It practically can't be missed. In case you wonder: The rest of the ribbon cables lead directly to the print head. Woah that are many wires, aren't they? Be careful with that cable because they easily snap. This is especially true when trying to plug it back in! Other than that you can simply pull it out.
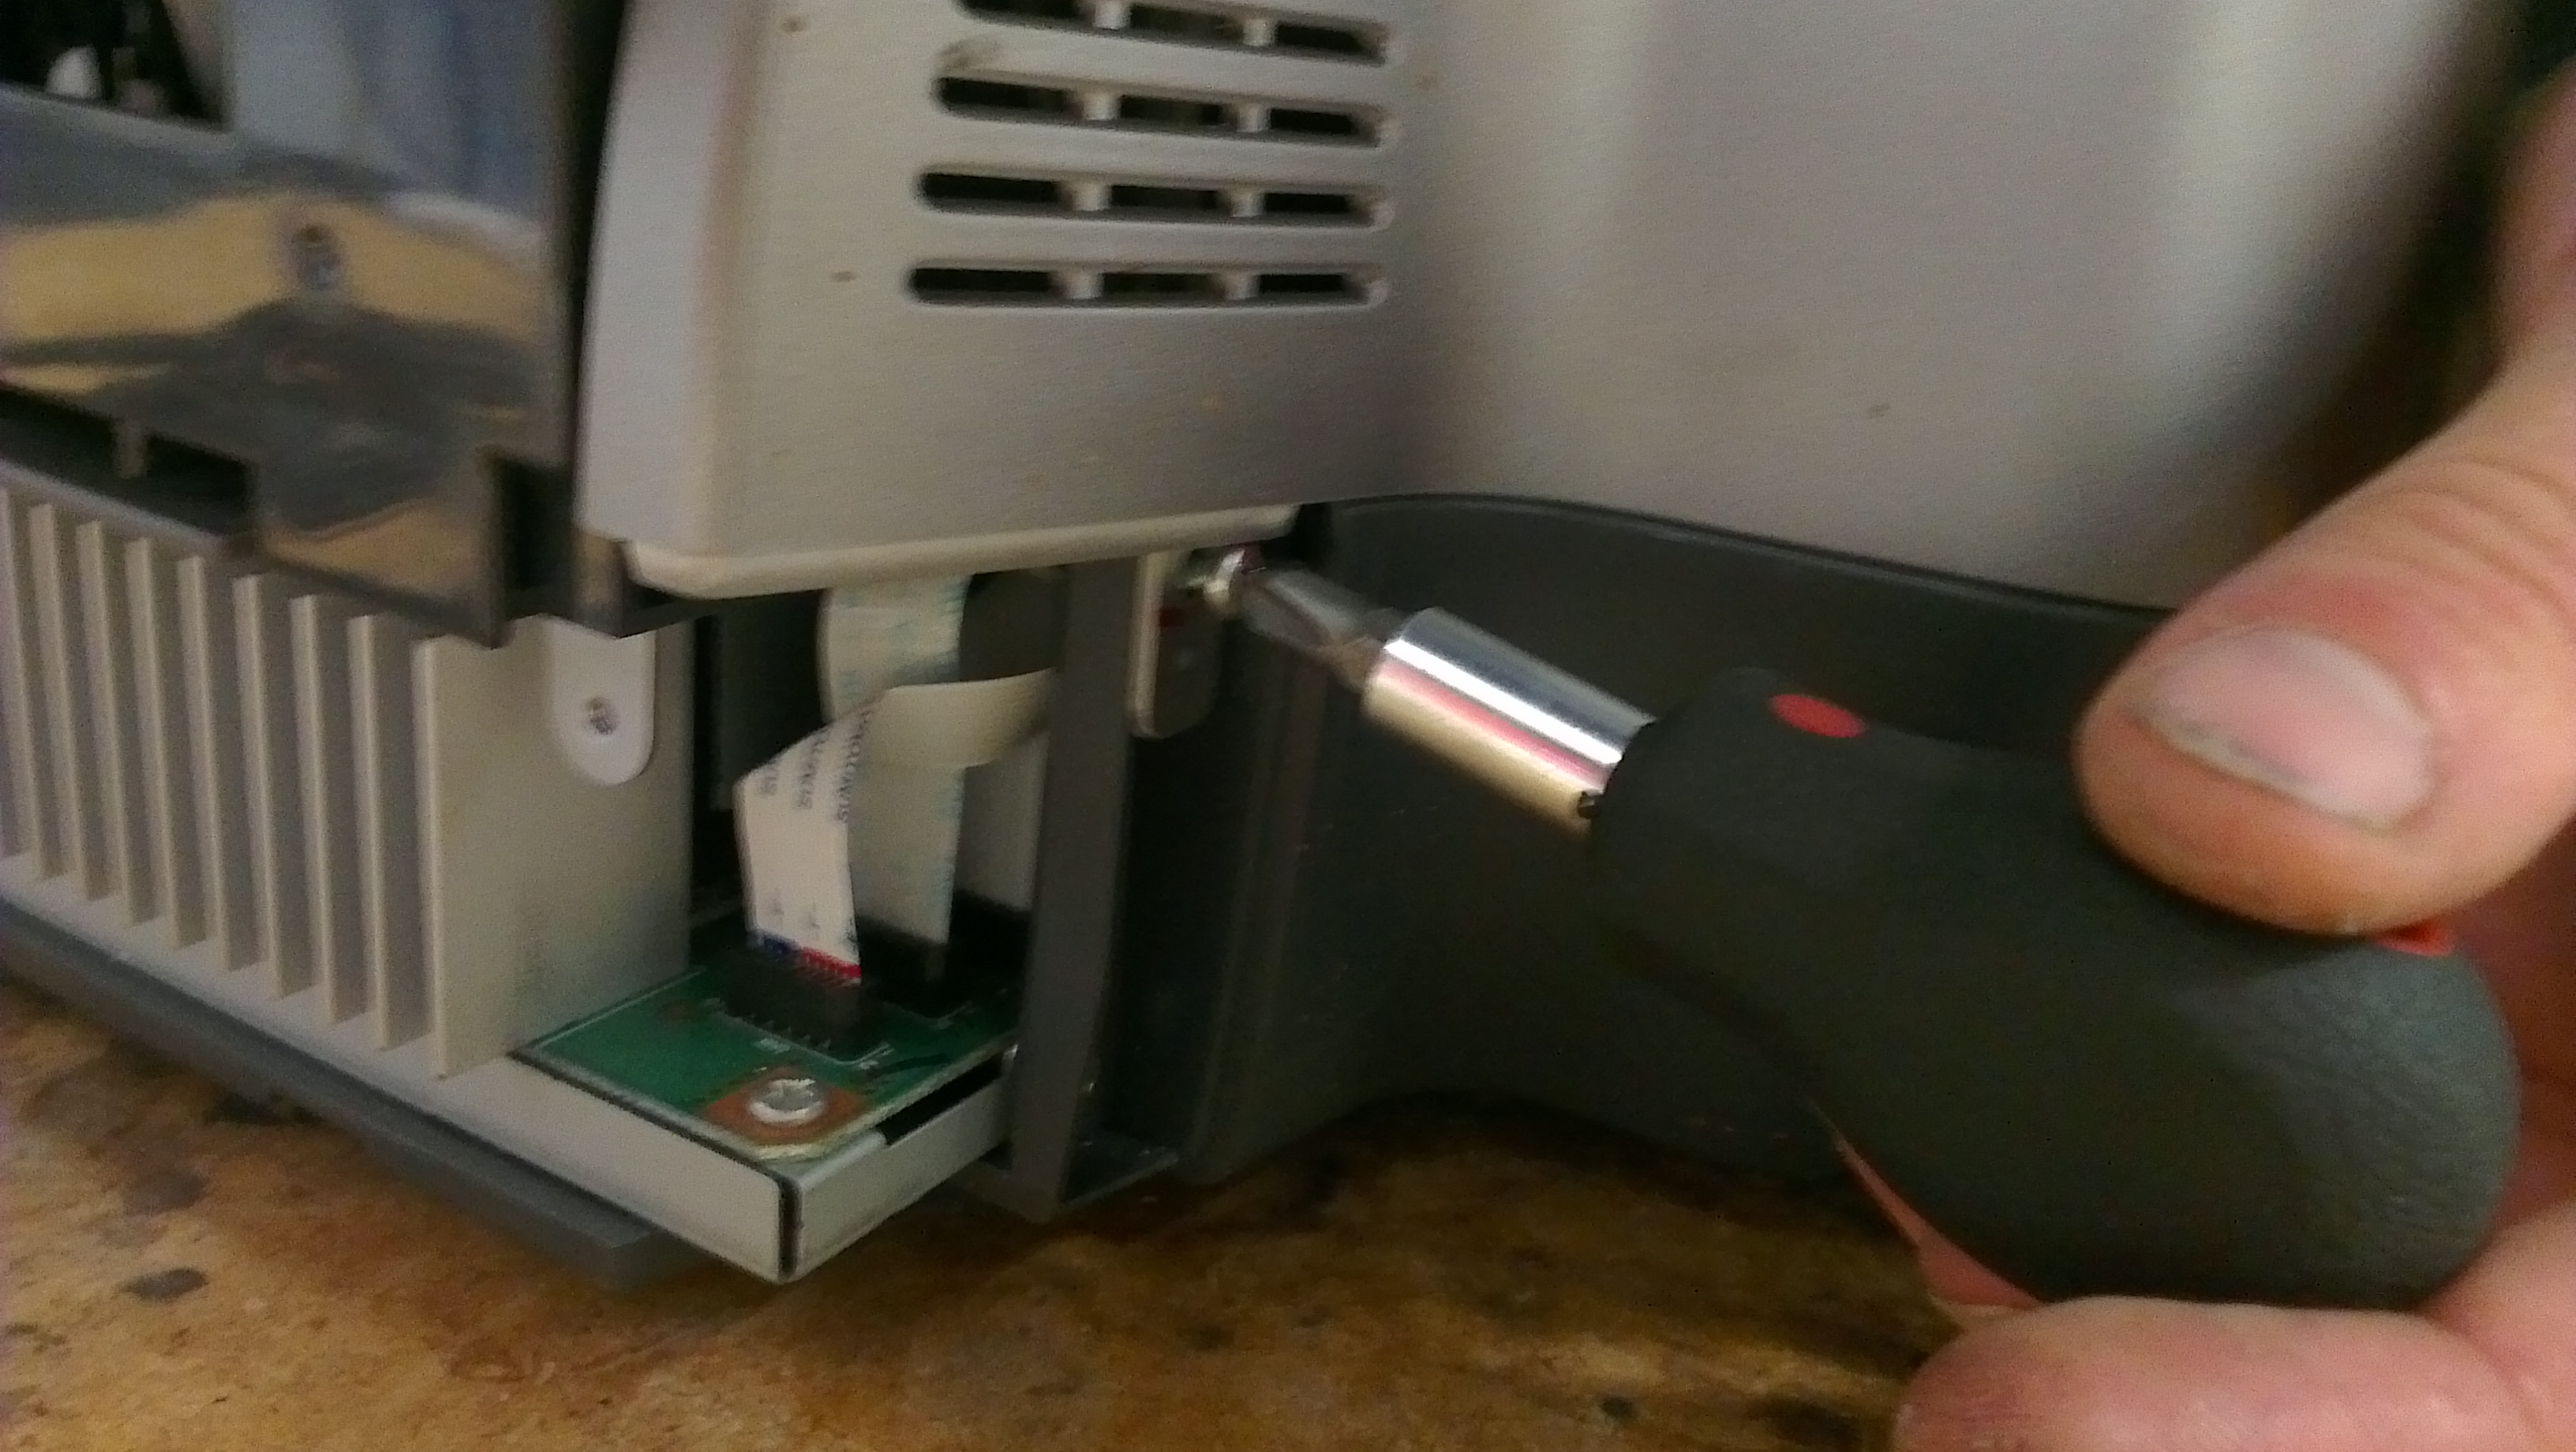
After you unplugged the cable for the front panel you can continue with the screws indicated in the following picture. The same screw can also be found on the opposite side of the printer and needs to be removed, too. Note the small knob right below the screw. You will have to slightly pull out the metal piece later in order to move the cover.
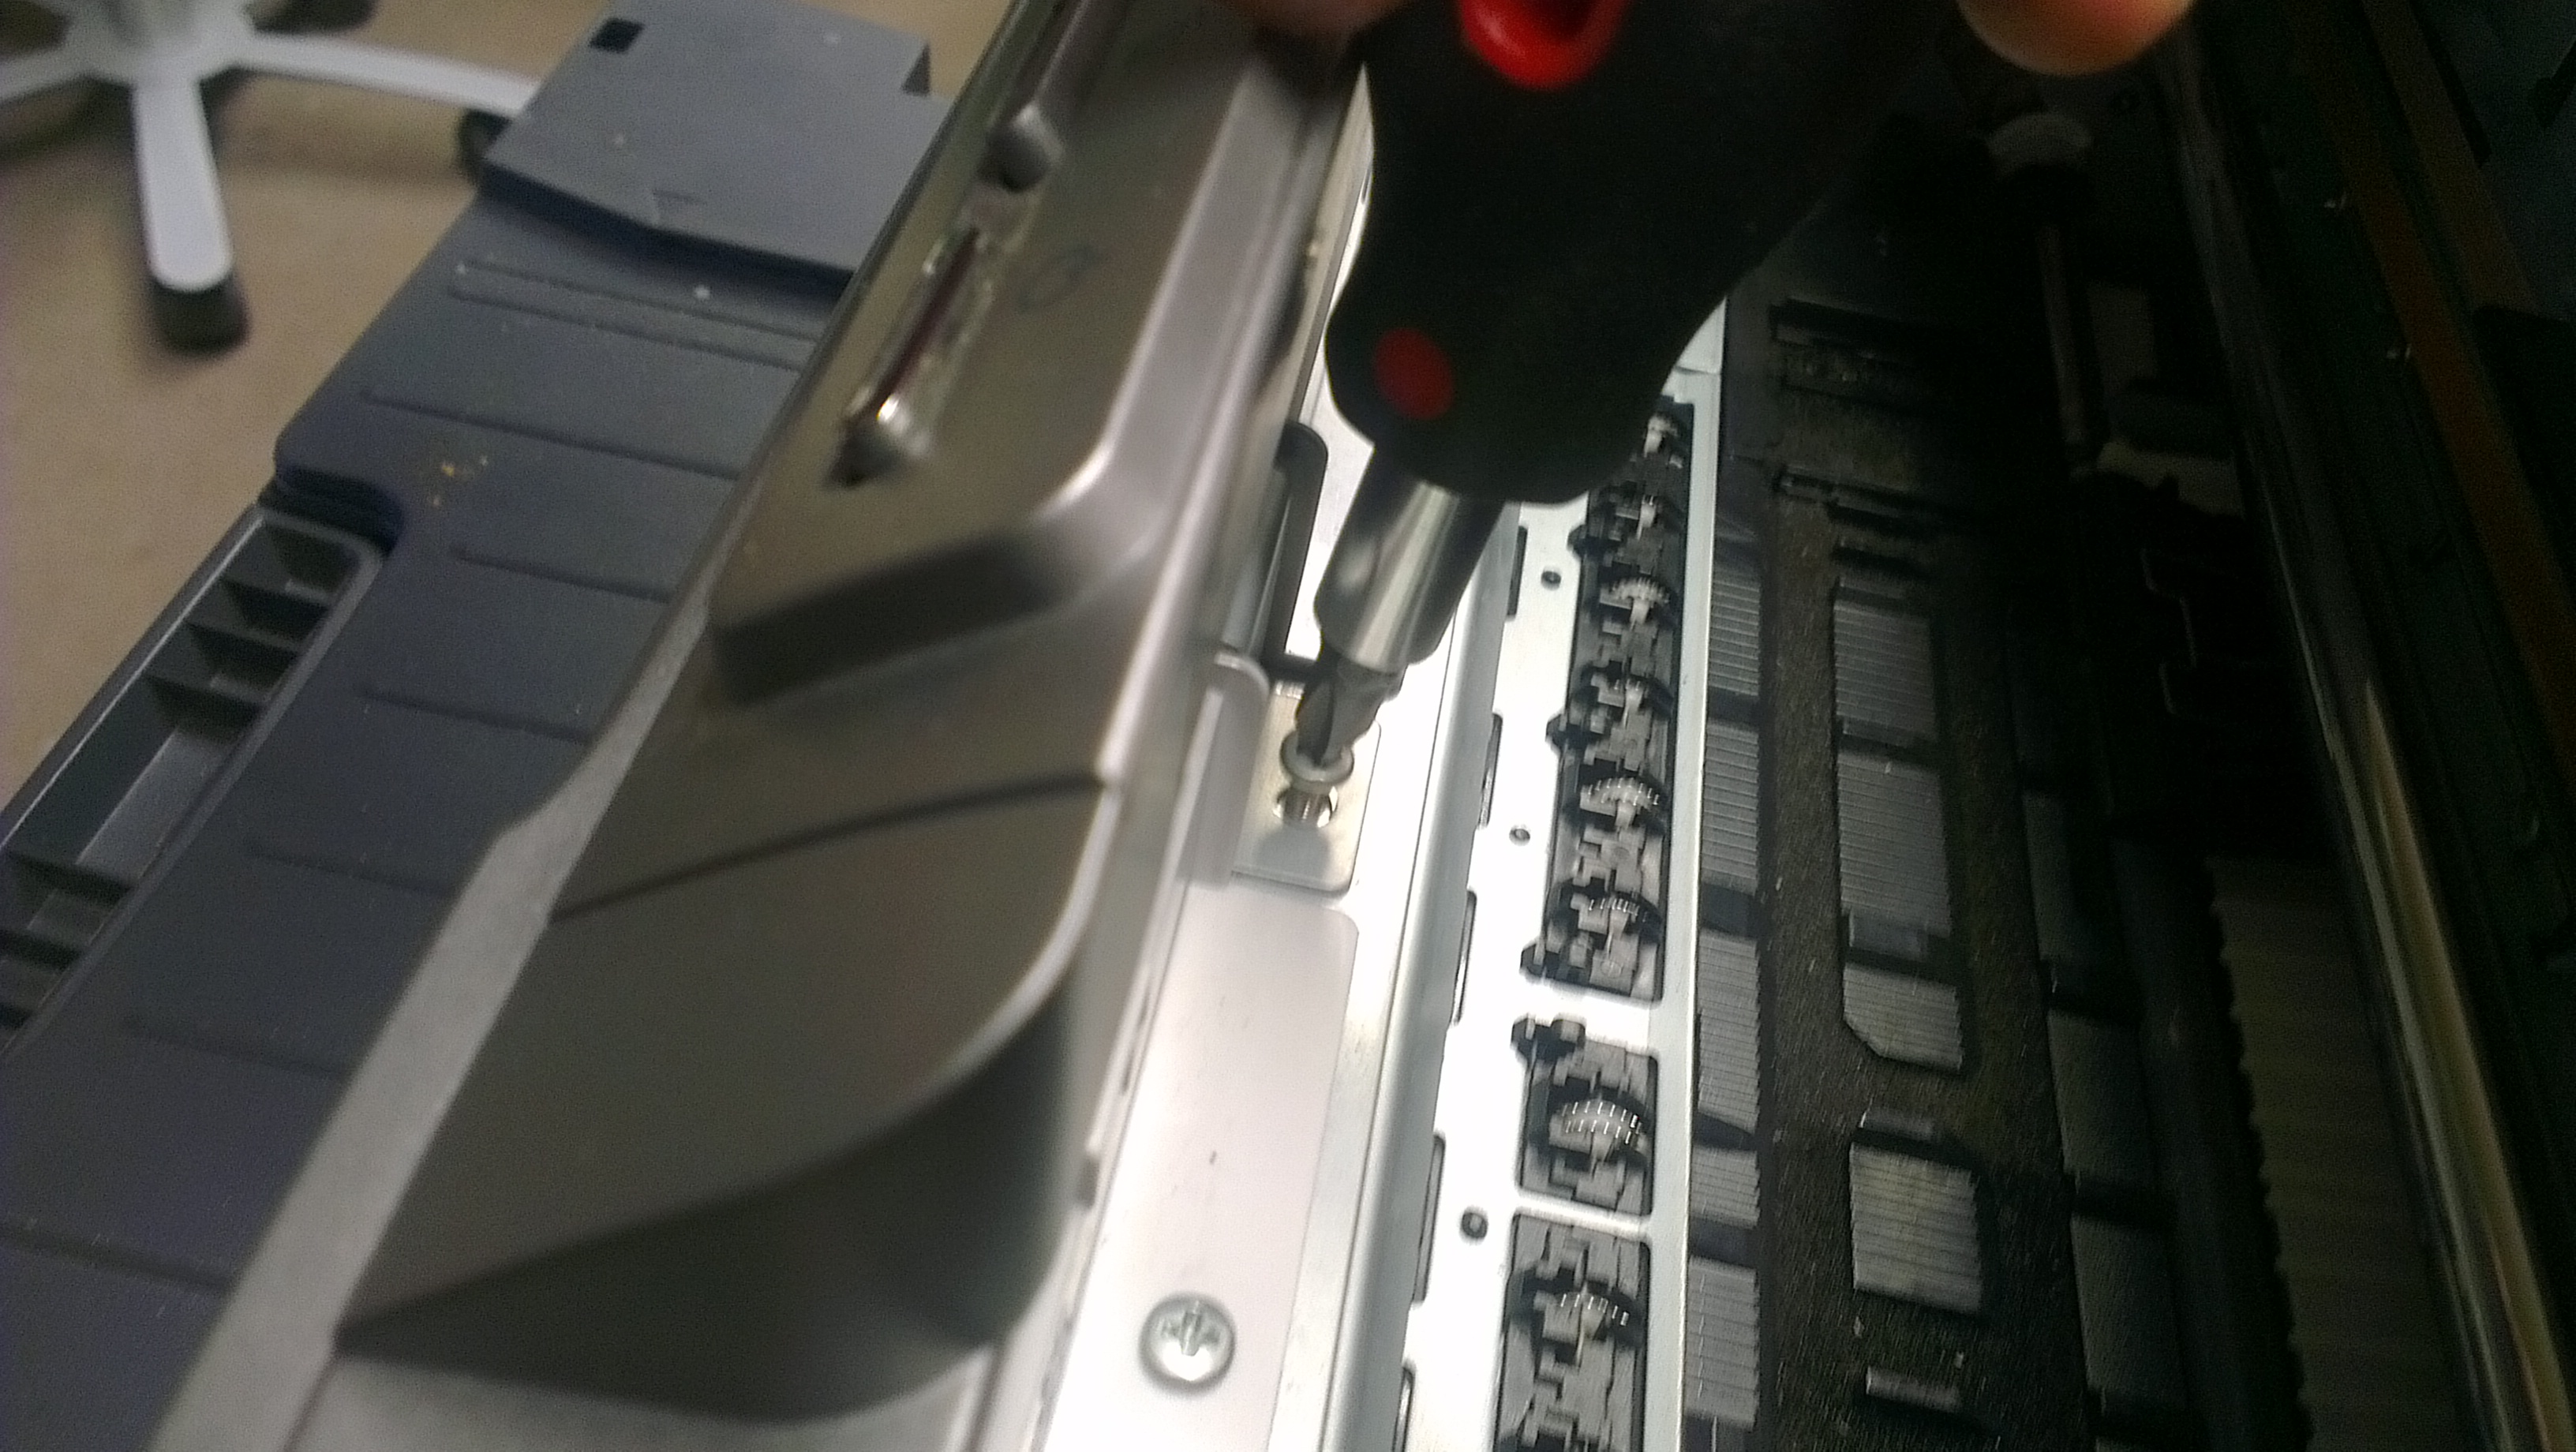
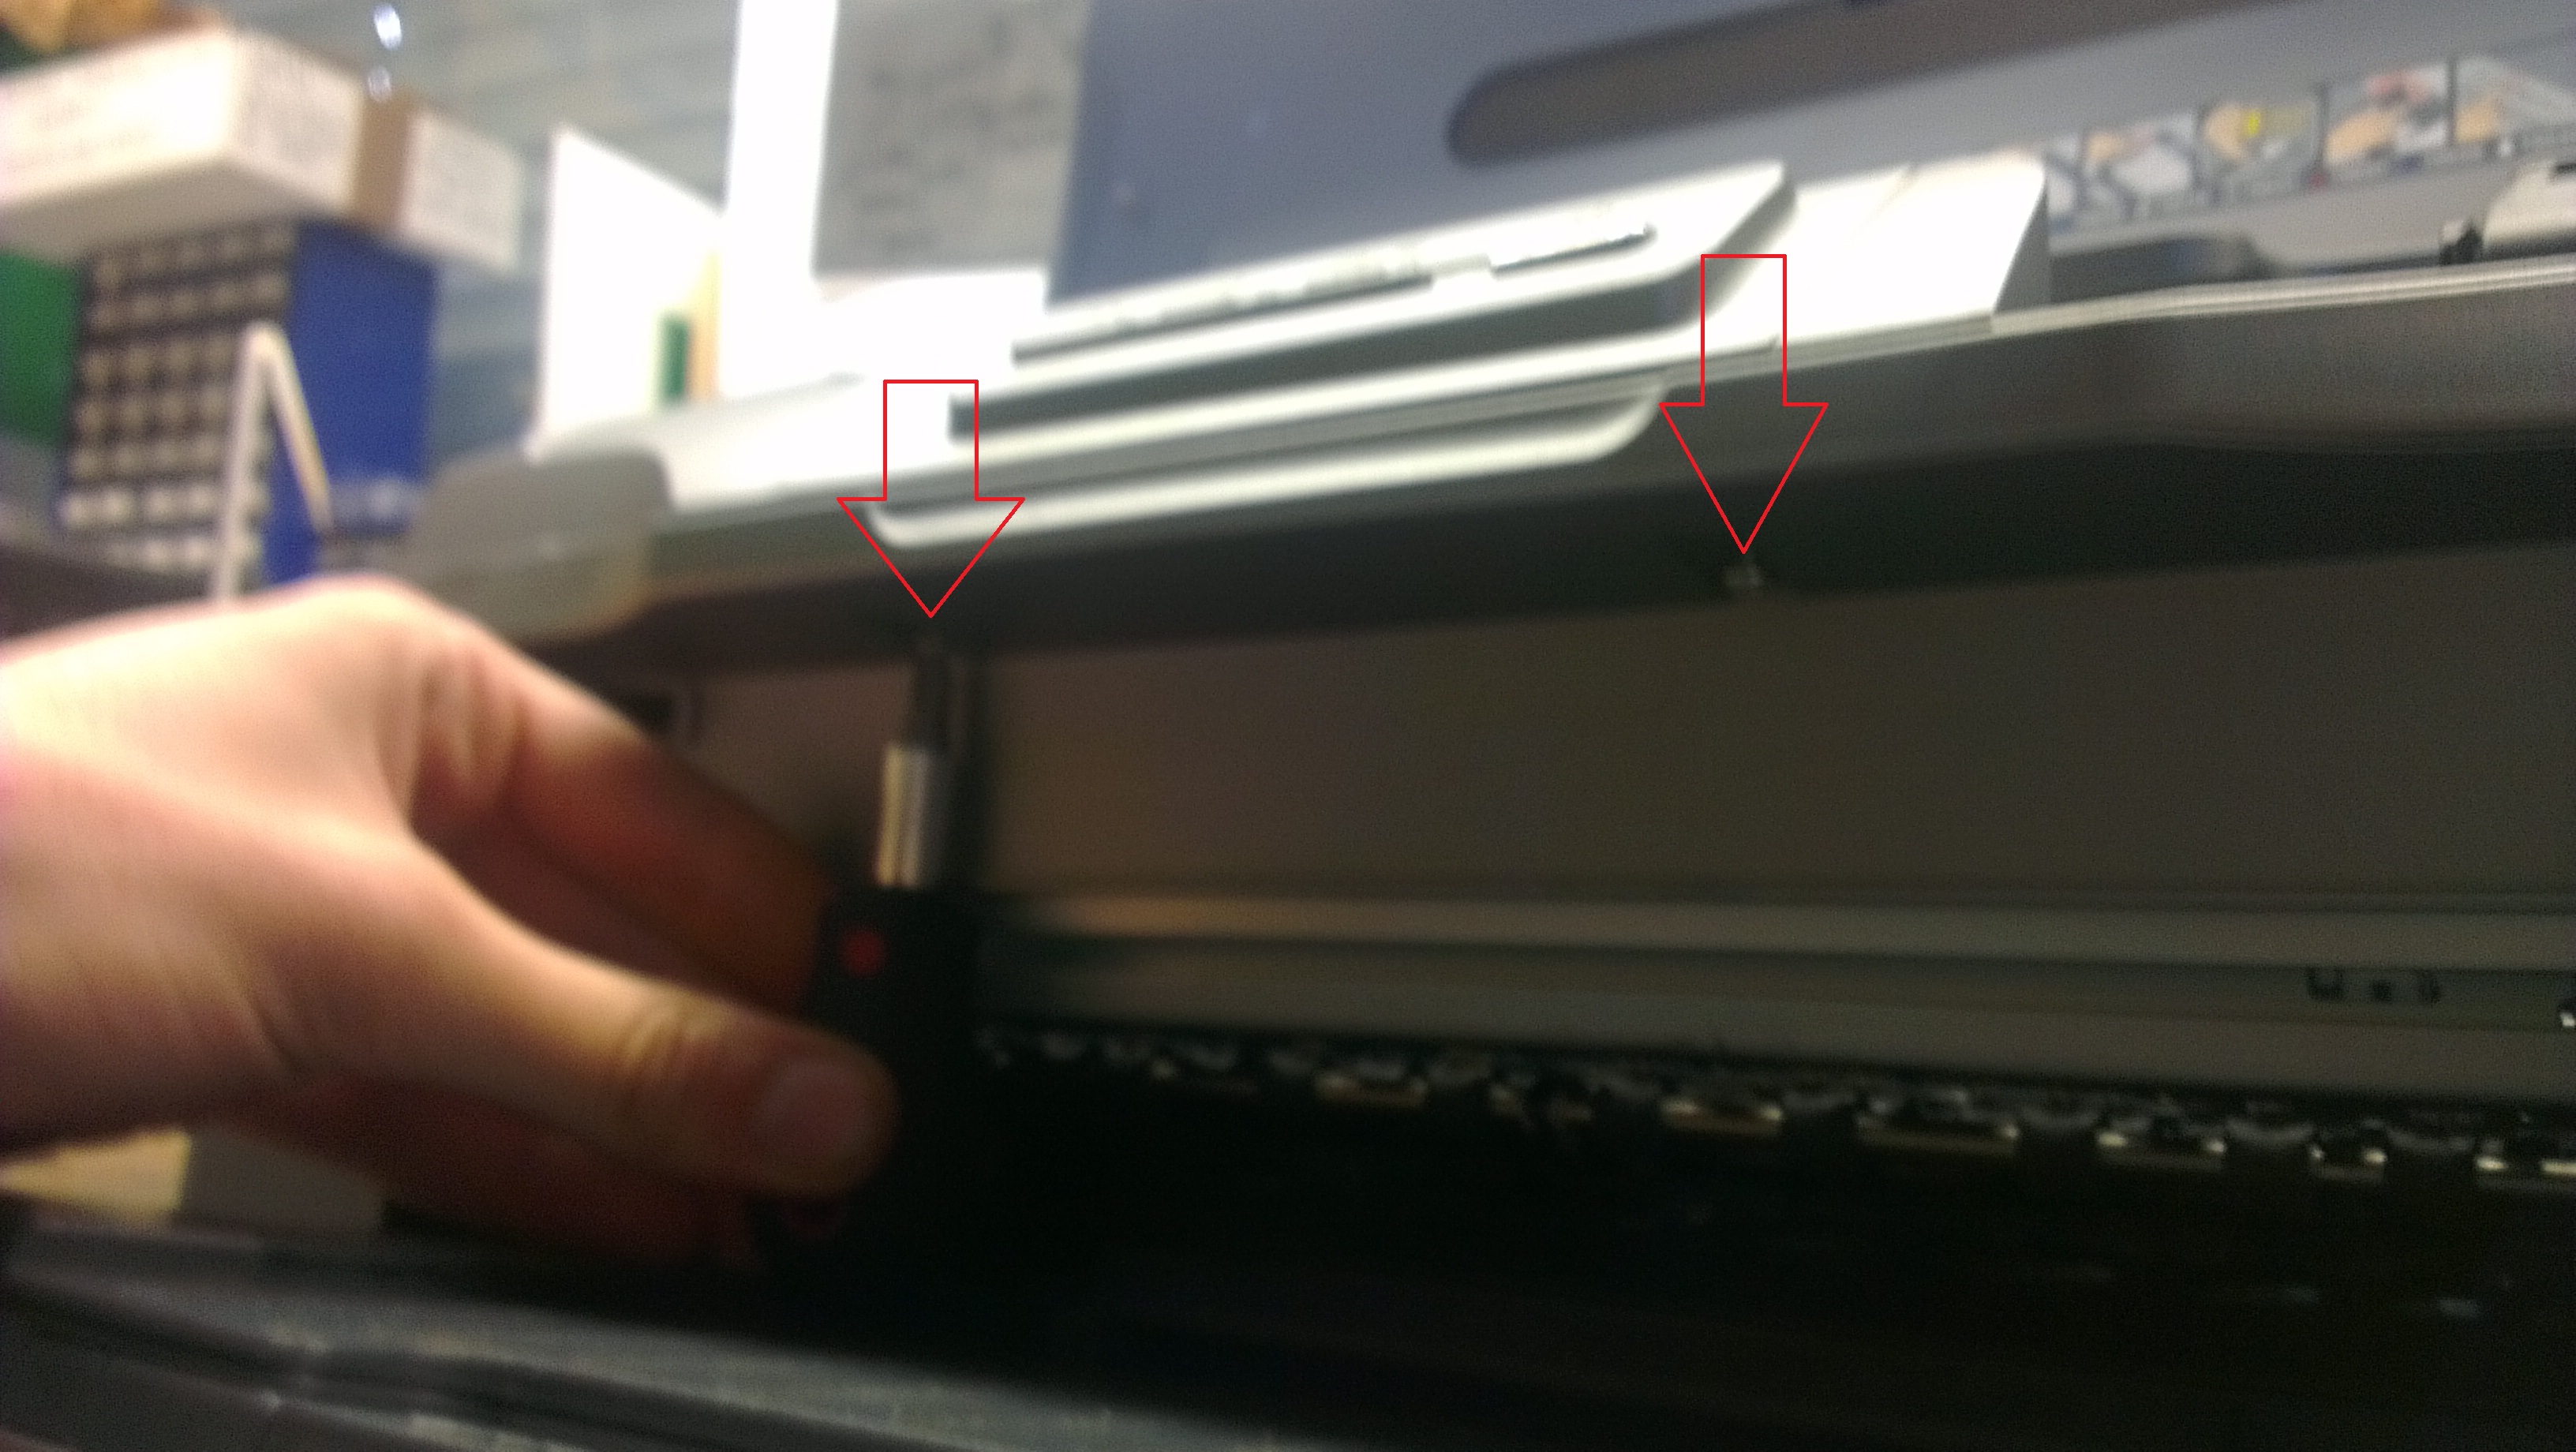
Now you should turn the printer around again. You're now going to unscrew three more screws as indicated in the following pictures. To acces them, you have to open the top lid and bring the front feeder in normal paper feed position (as opposed to closed or manual feed). You also need a small screw driver - like the one in the pictures - that can fit vertically under the bottom two screws. Note that the top screw is different from the other two screws so be careful not to mix them up!
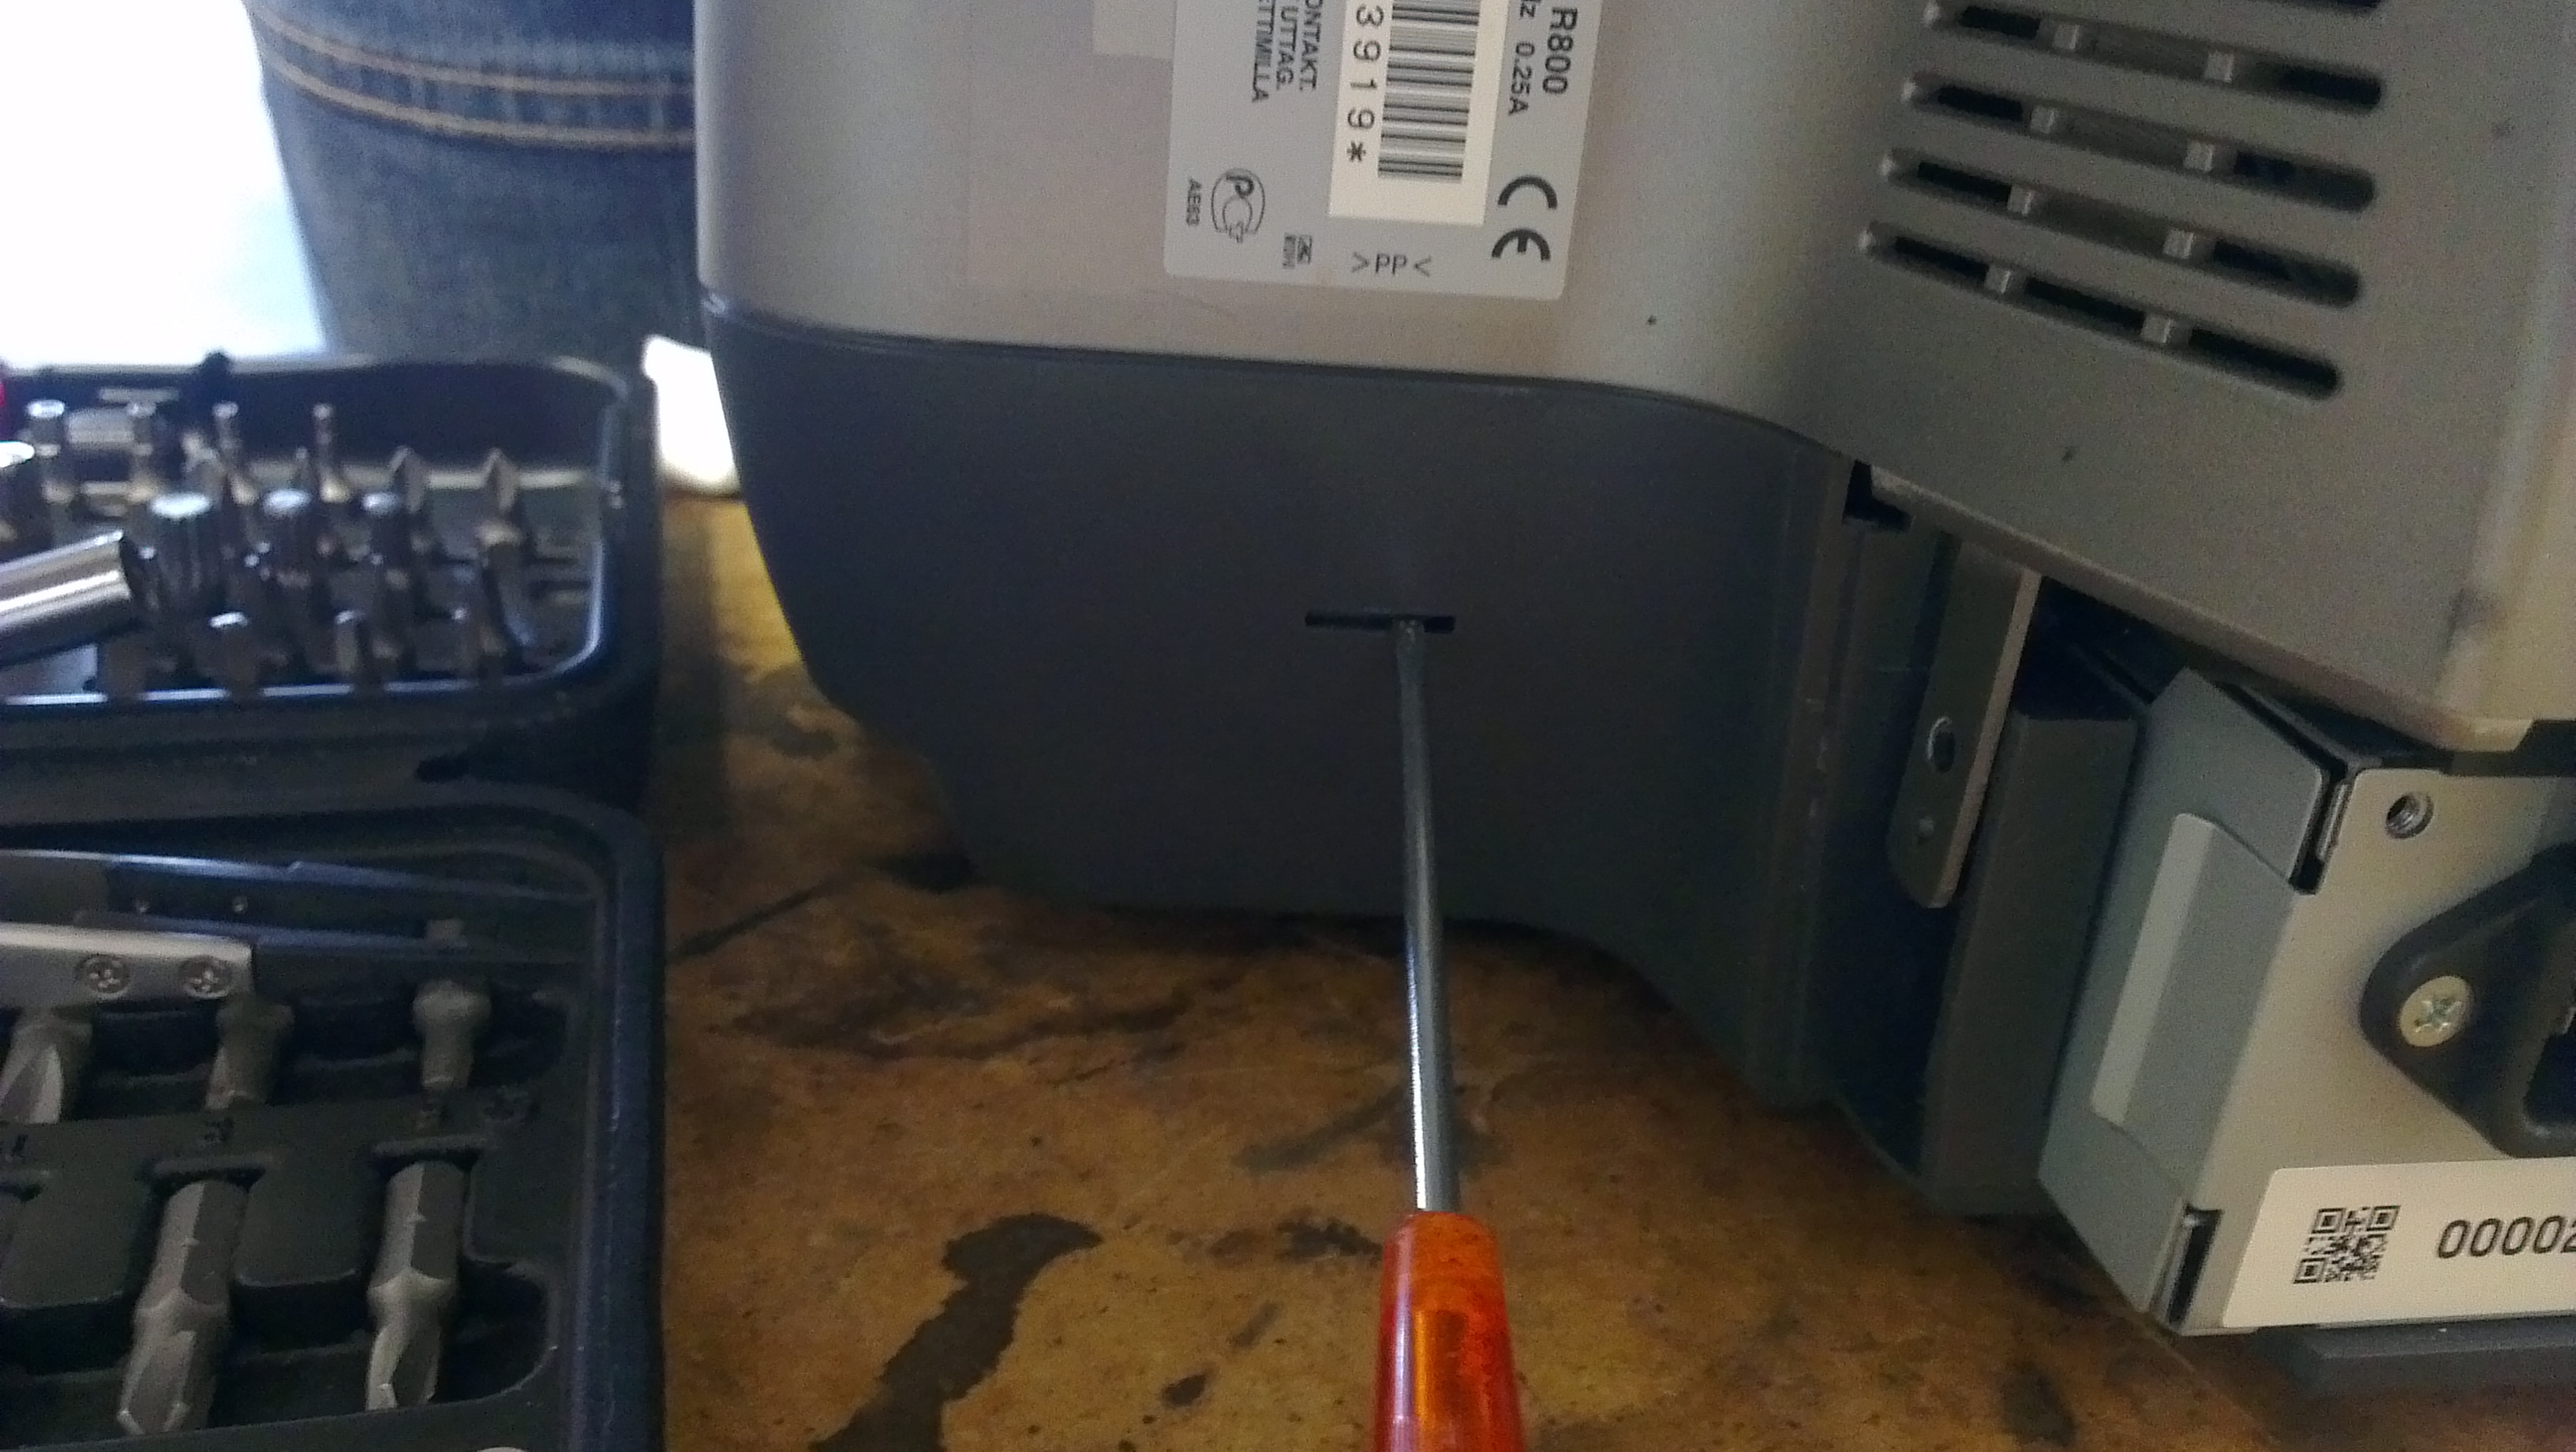
All that keeps the cover on the printer now is plastic clips. You should start from the back and carefully work your way to the front. Start by releasing the small knobs as mentioned before while using a small screw driver or similar to unlock the cover through the small slits on the rear as indicated by the picture. Just carefully push it in untill the cover is released. You don't need to lever in that hole or somehting.
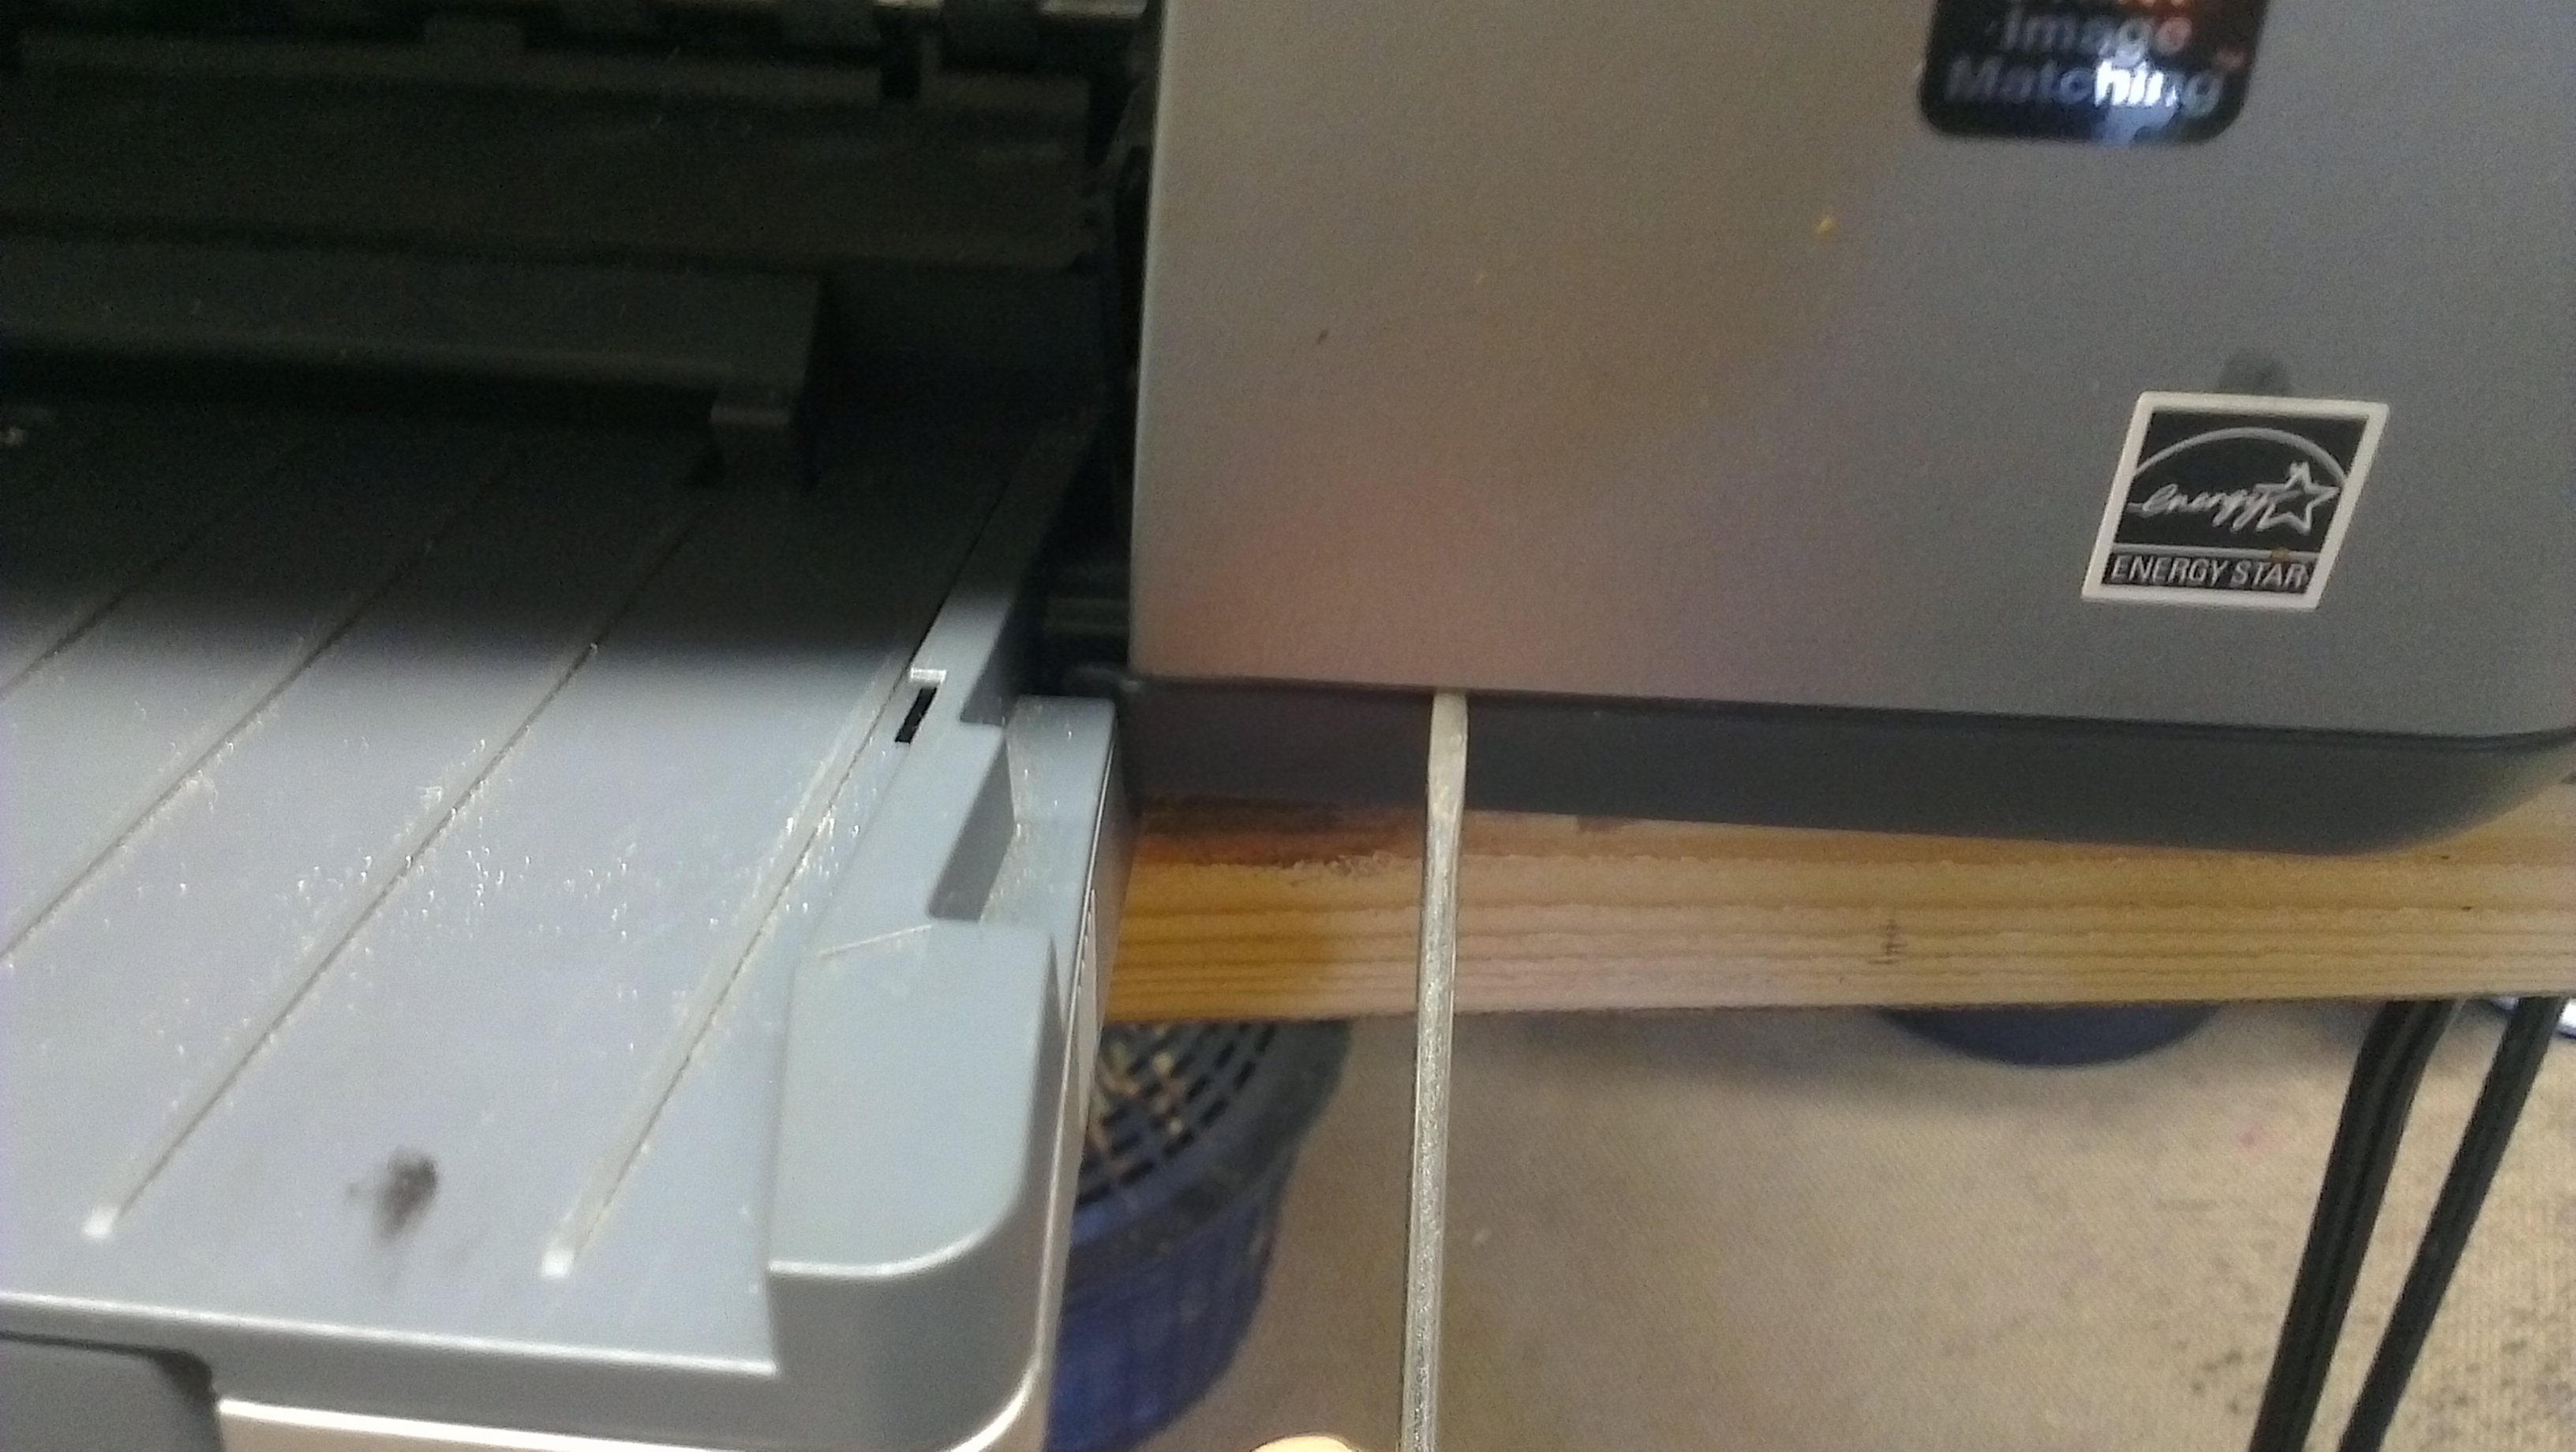
Then work your way around the printer until you reach the front. You might have to use a screwdriver to loosen the last two plastic clips. The right one is roughly located near the screwdriver in the next photo, it's just the same on the other side. They can be tricky, be careful not to break them!
That's it! You should now hold the cover in your hands. If you want to run the printer this way, you have to put the cover right next to the printer so you can plug the ribbon connector for the front panel back in. Be careful not to rip the cable when accidentially moving the cover!
If you're done repairing the printer (THERE IS NO OTHER LEGITIMATE REASON FOR OPENING IT ANYWAYS!) just make sure there are no screws left over and it looks like this again:
Greetings from armageddon421!

